What this project is about
With just a small flat surface in your home, you’ll build a stable workbench from odds and ends — something sturdy and modular you can place wherever it’s needed. This will probably work on your bed, but you'd need to be careful with the soldering iron in that case. Ideally, a kitchen table is fine, since the workbench itself takes all the abuse.
Step one: Get a board for a platform
The first piece is just a relatively thin board, made from real wood, presswood or an old IKEA shelf. Here's my SWB platform, an old span from a DIY bookshelf that survived the demise of the other shelves.
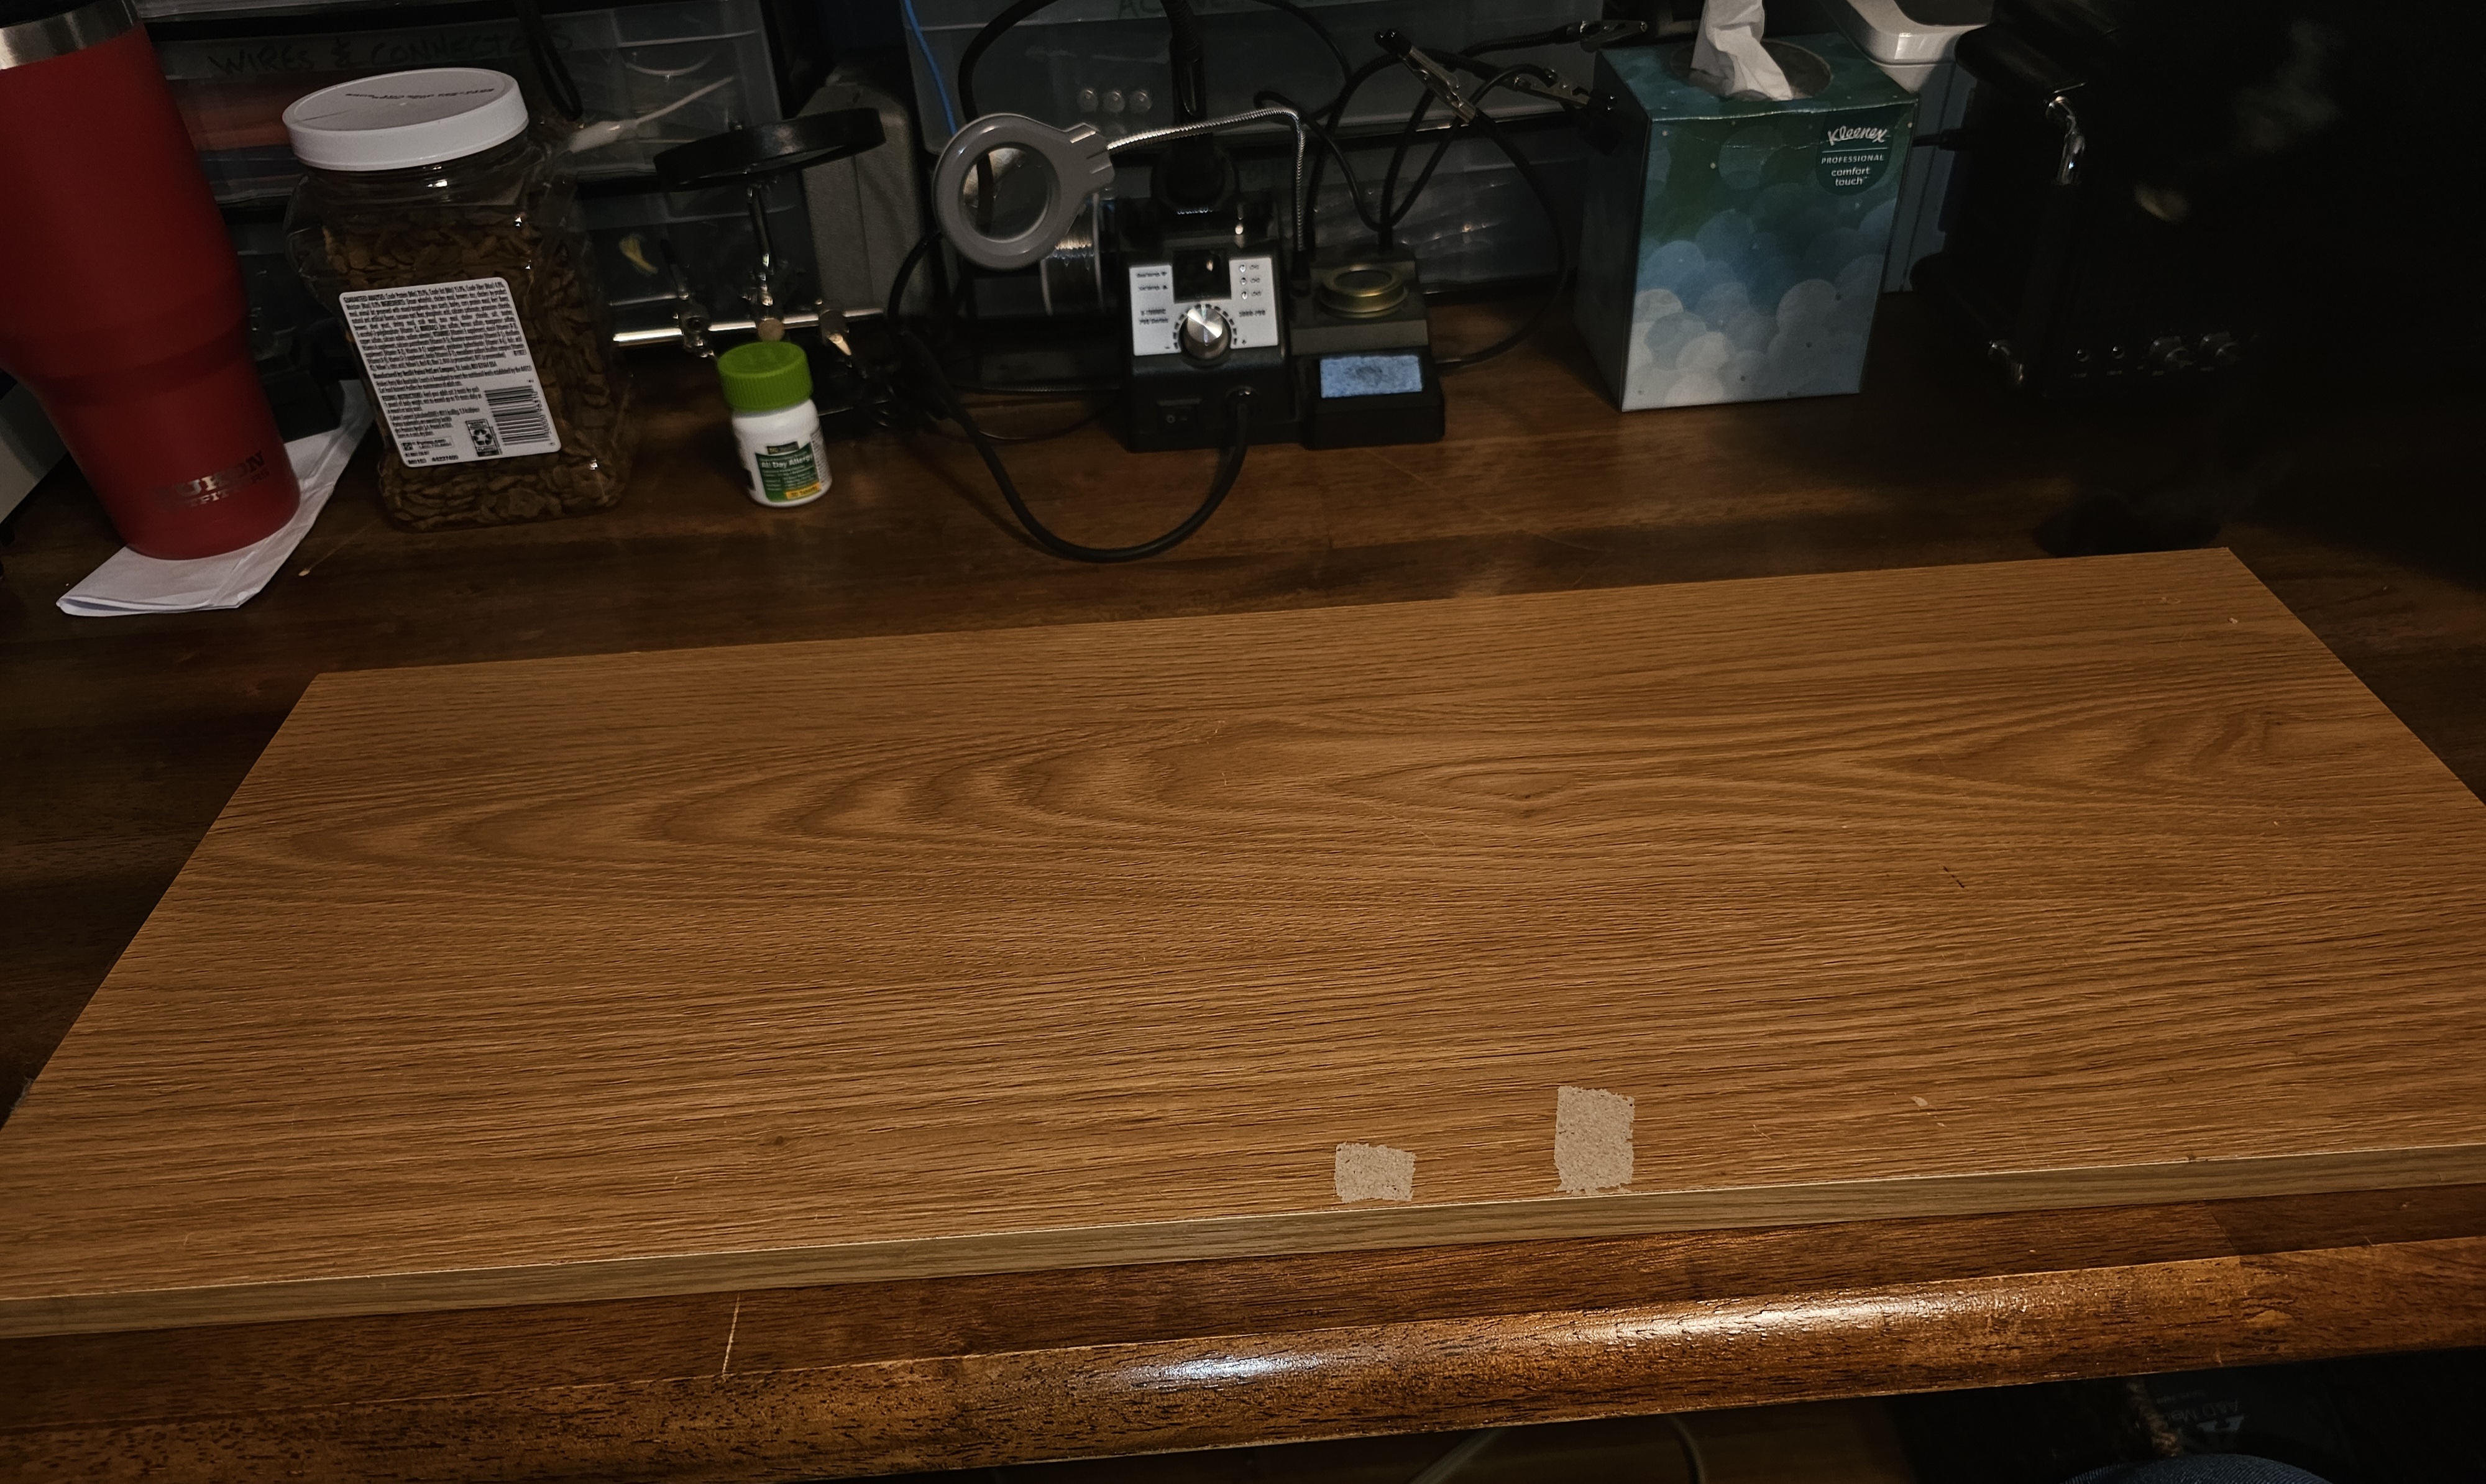
This particular board is 11.5 inches deep, 28.5 inches wide, and around a half inch thick. This should do fine for attaching things with small screws. This board suits me well, as the RBPS fits nicely on the end: Clamping it there keeps it out of the way of the circuits, but in reach for powering them.
Step two: Powering the SWB
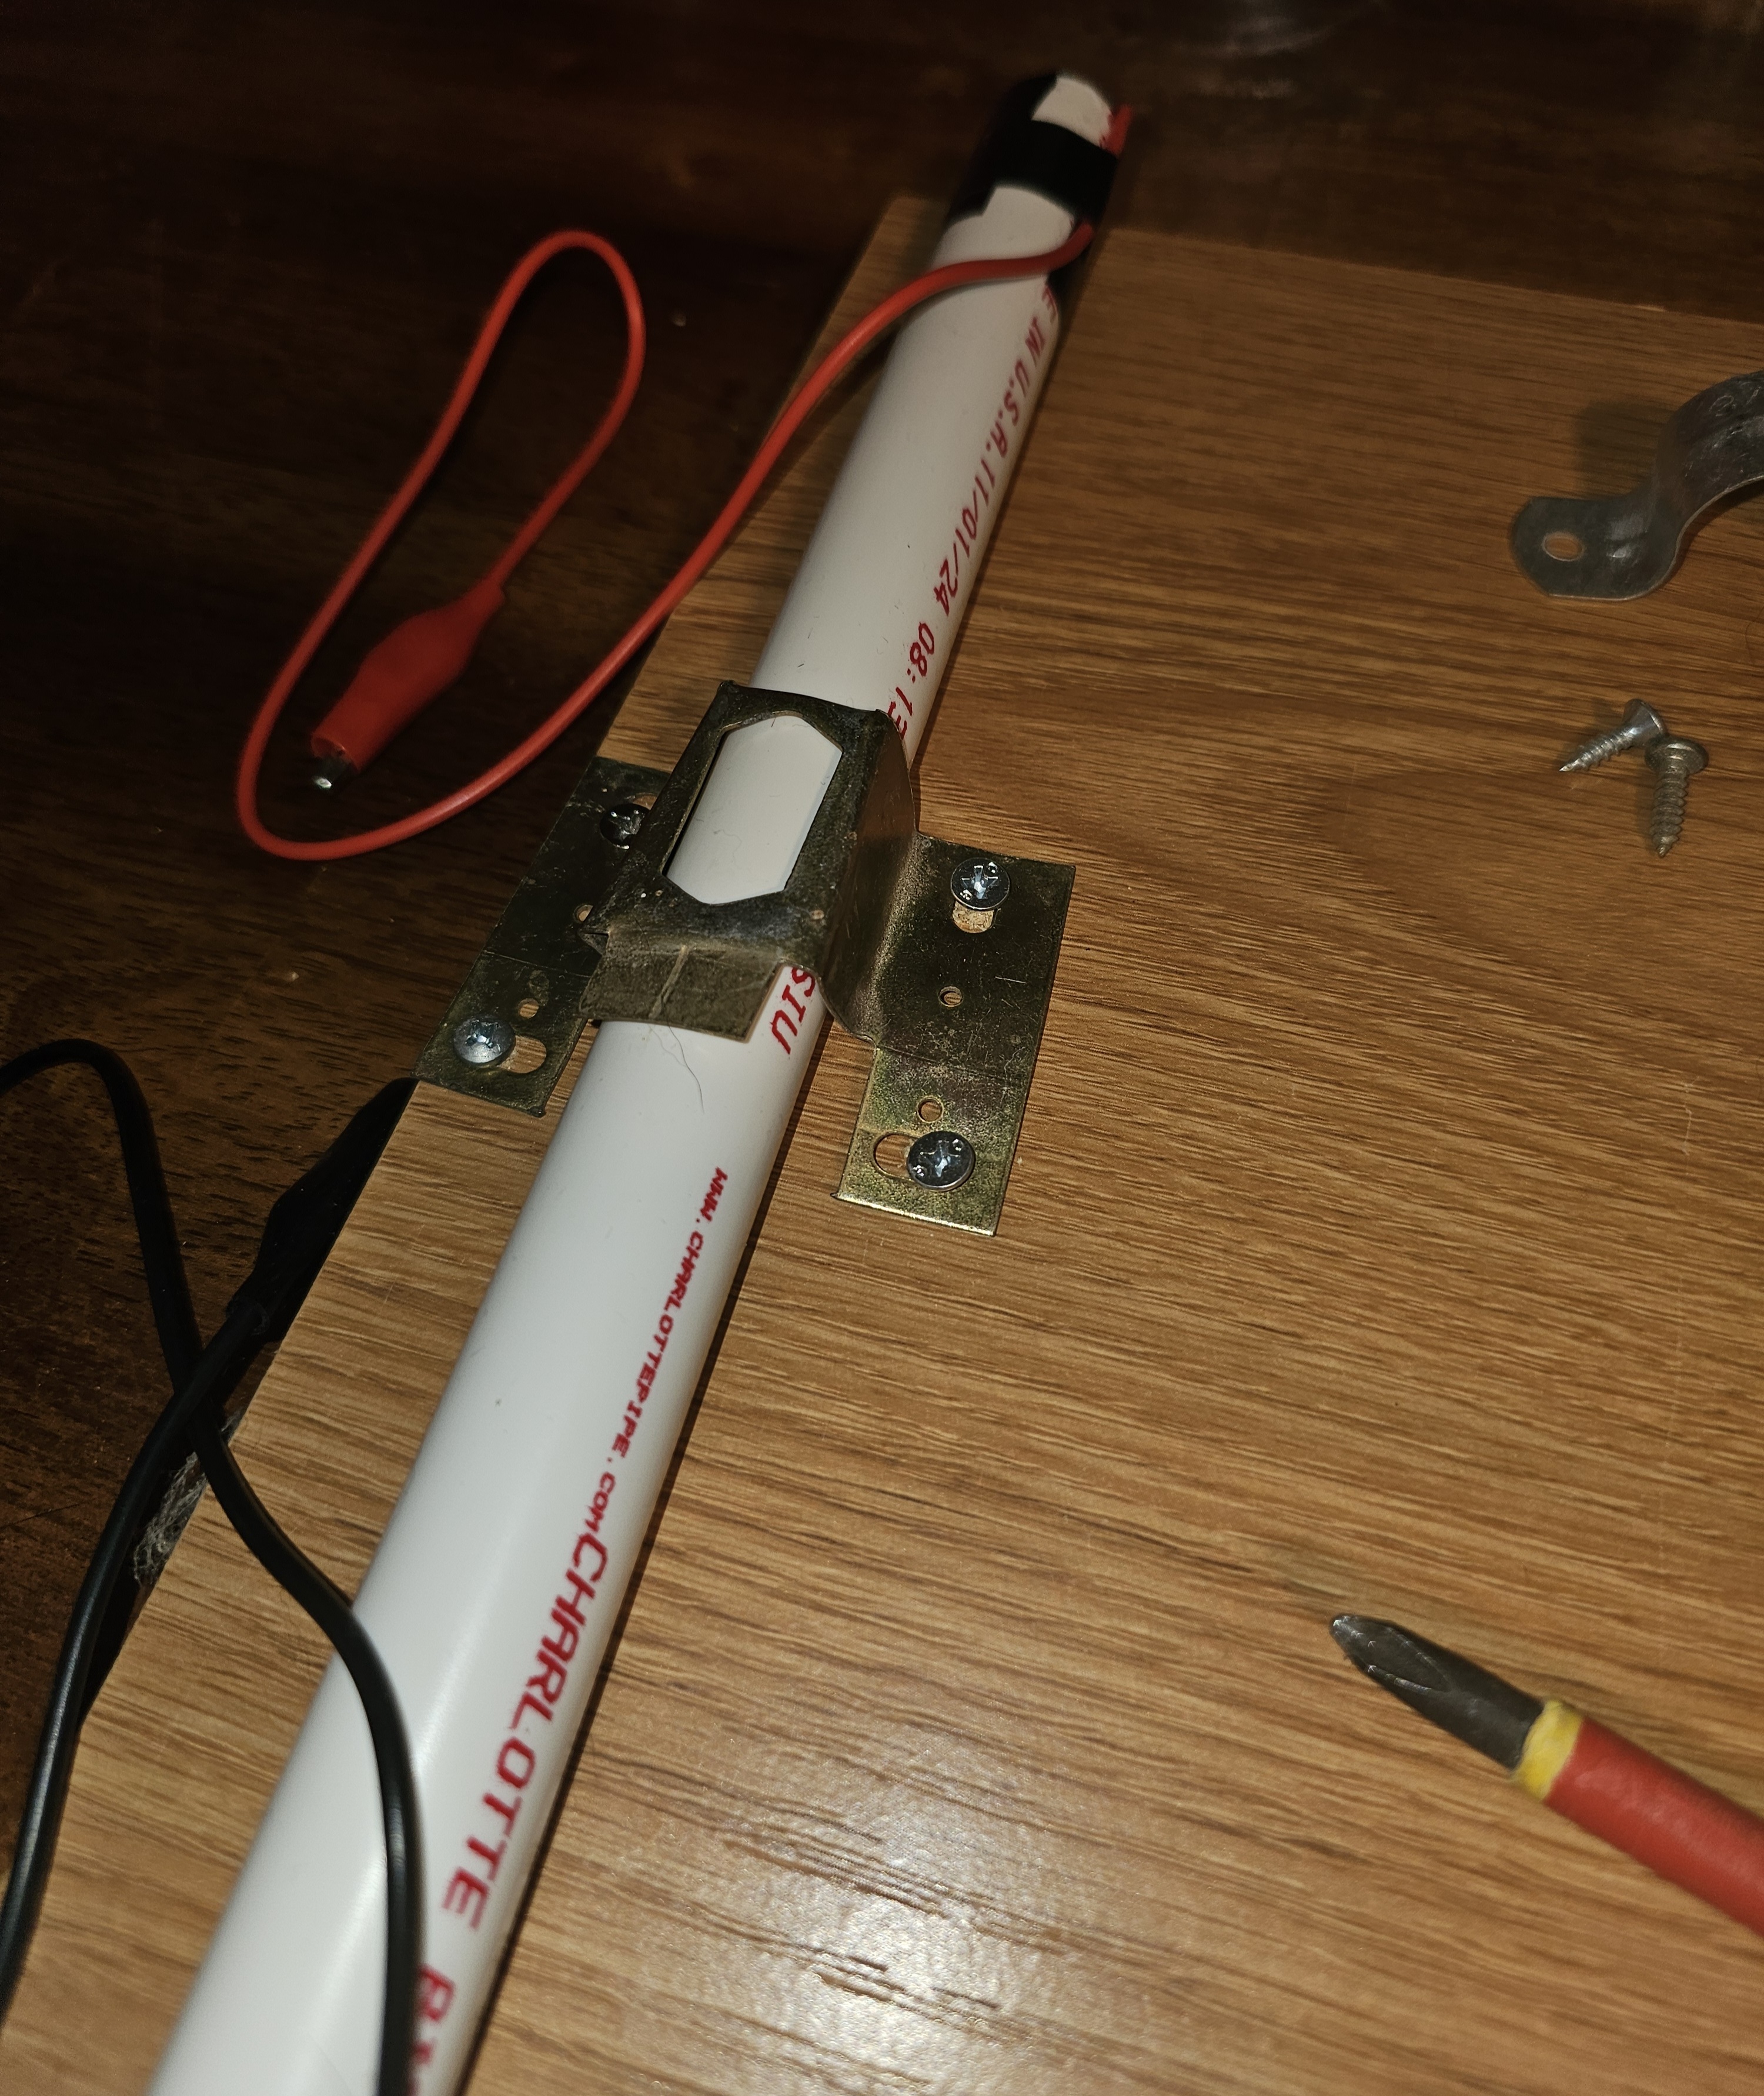
Let's go ahead and clamp that power supply down while we're thinking about it. I found an odd clamp that's been sitting in a bin for at least 18 months, so it's probably not going to get used for much. Picked up a few random screws from my big magnetic bowl, unmatched to encourage you not to worry about aesthetics for these purposes.
Step three: Adding some light
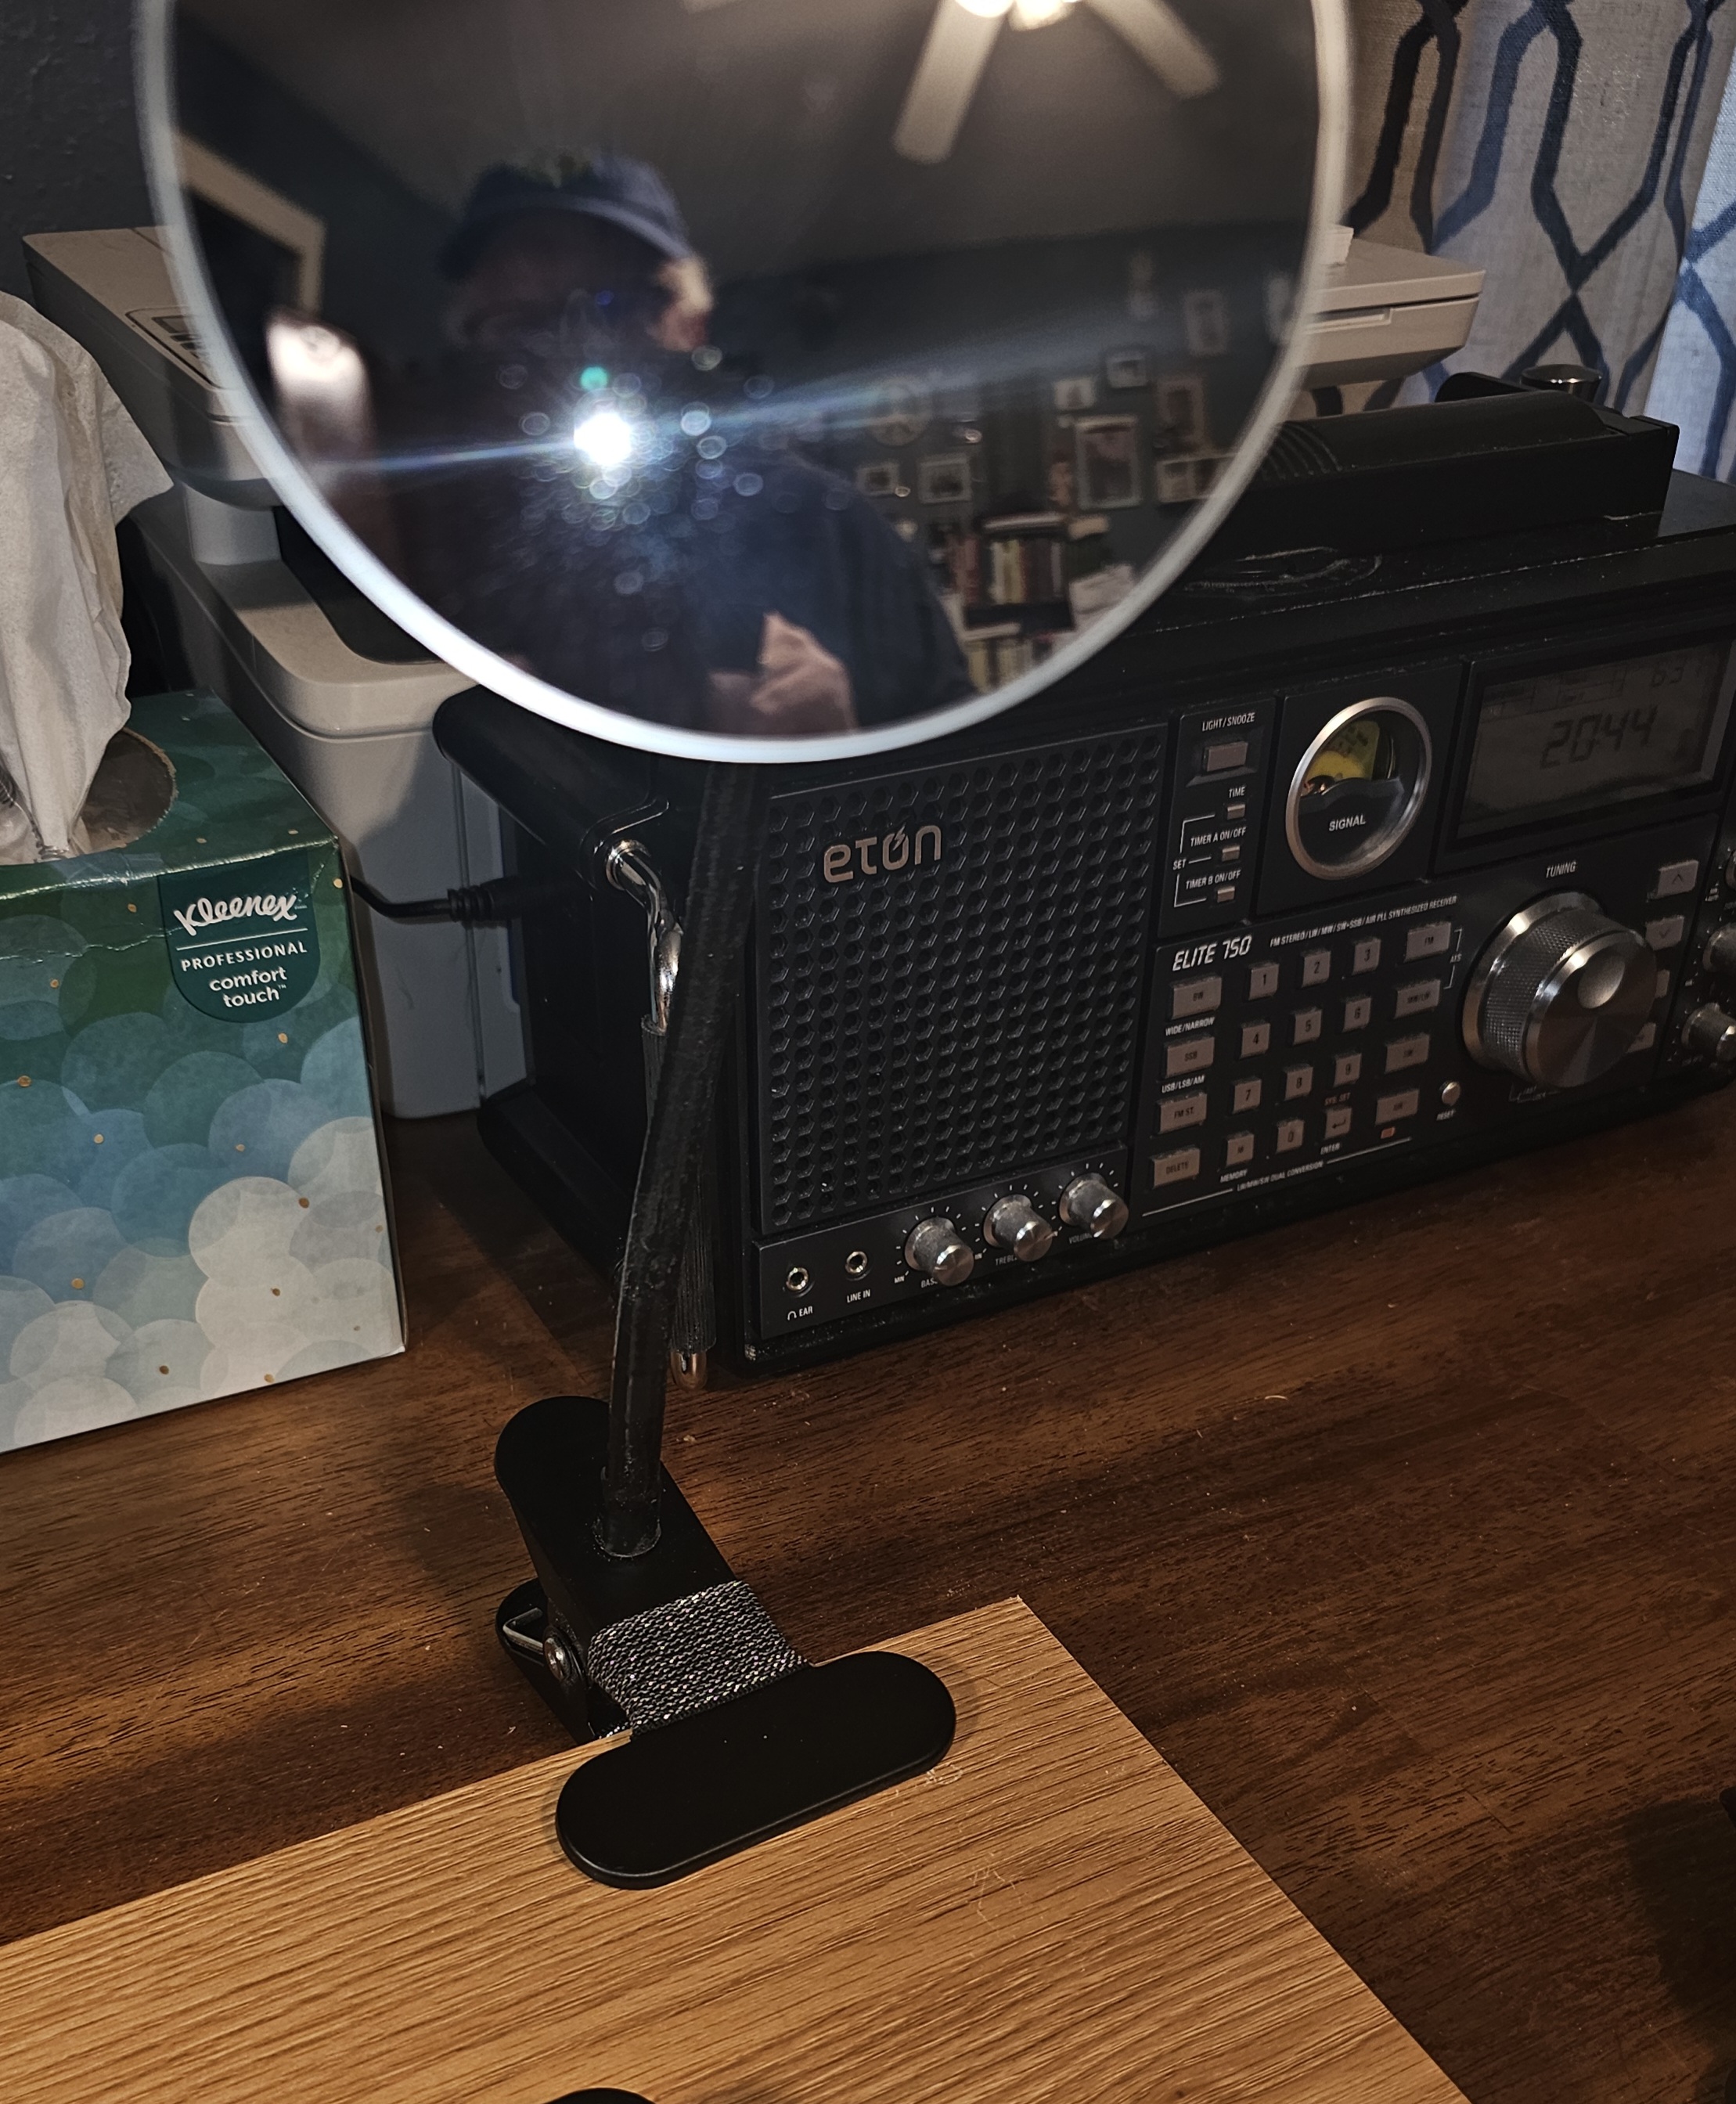
Now we need some light. Since this plugs in, it shouldn't be permanently mounted on the board. I've got this clamp light that will work, as you see, though it makes the board rock because it's unstable on one corner.
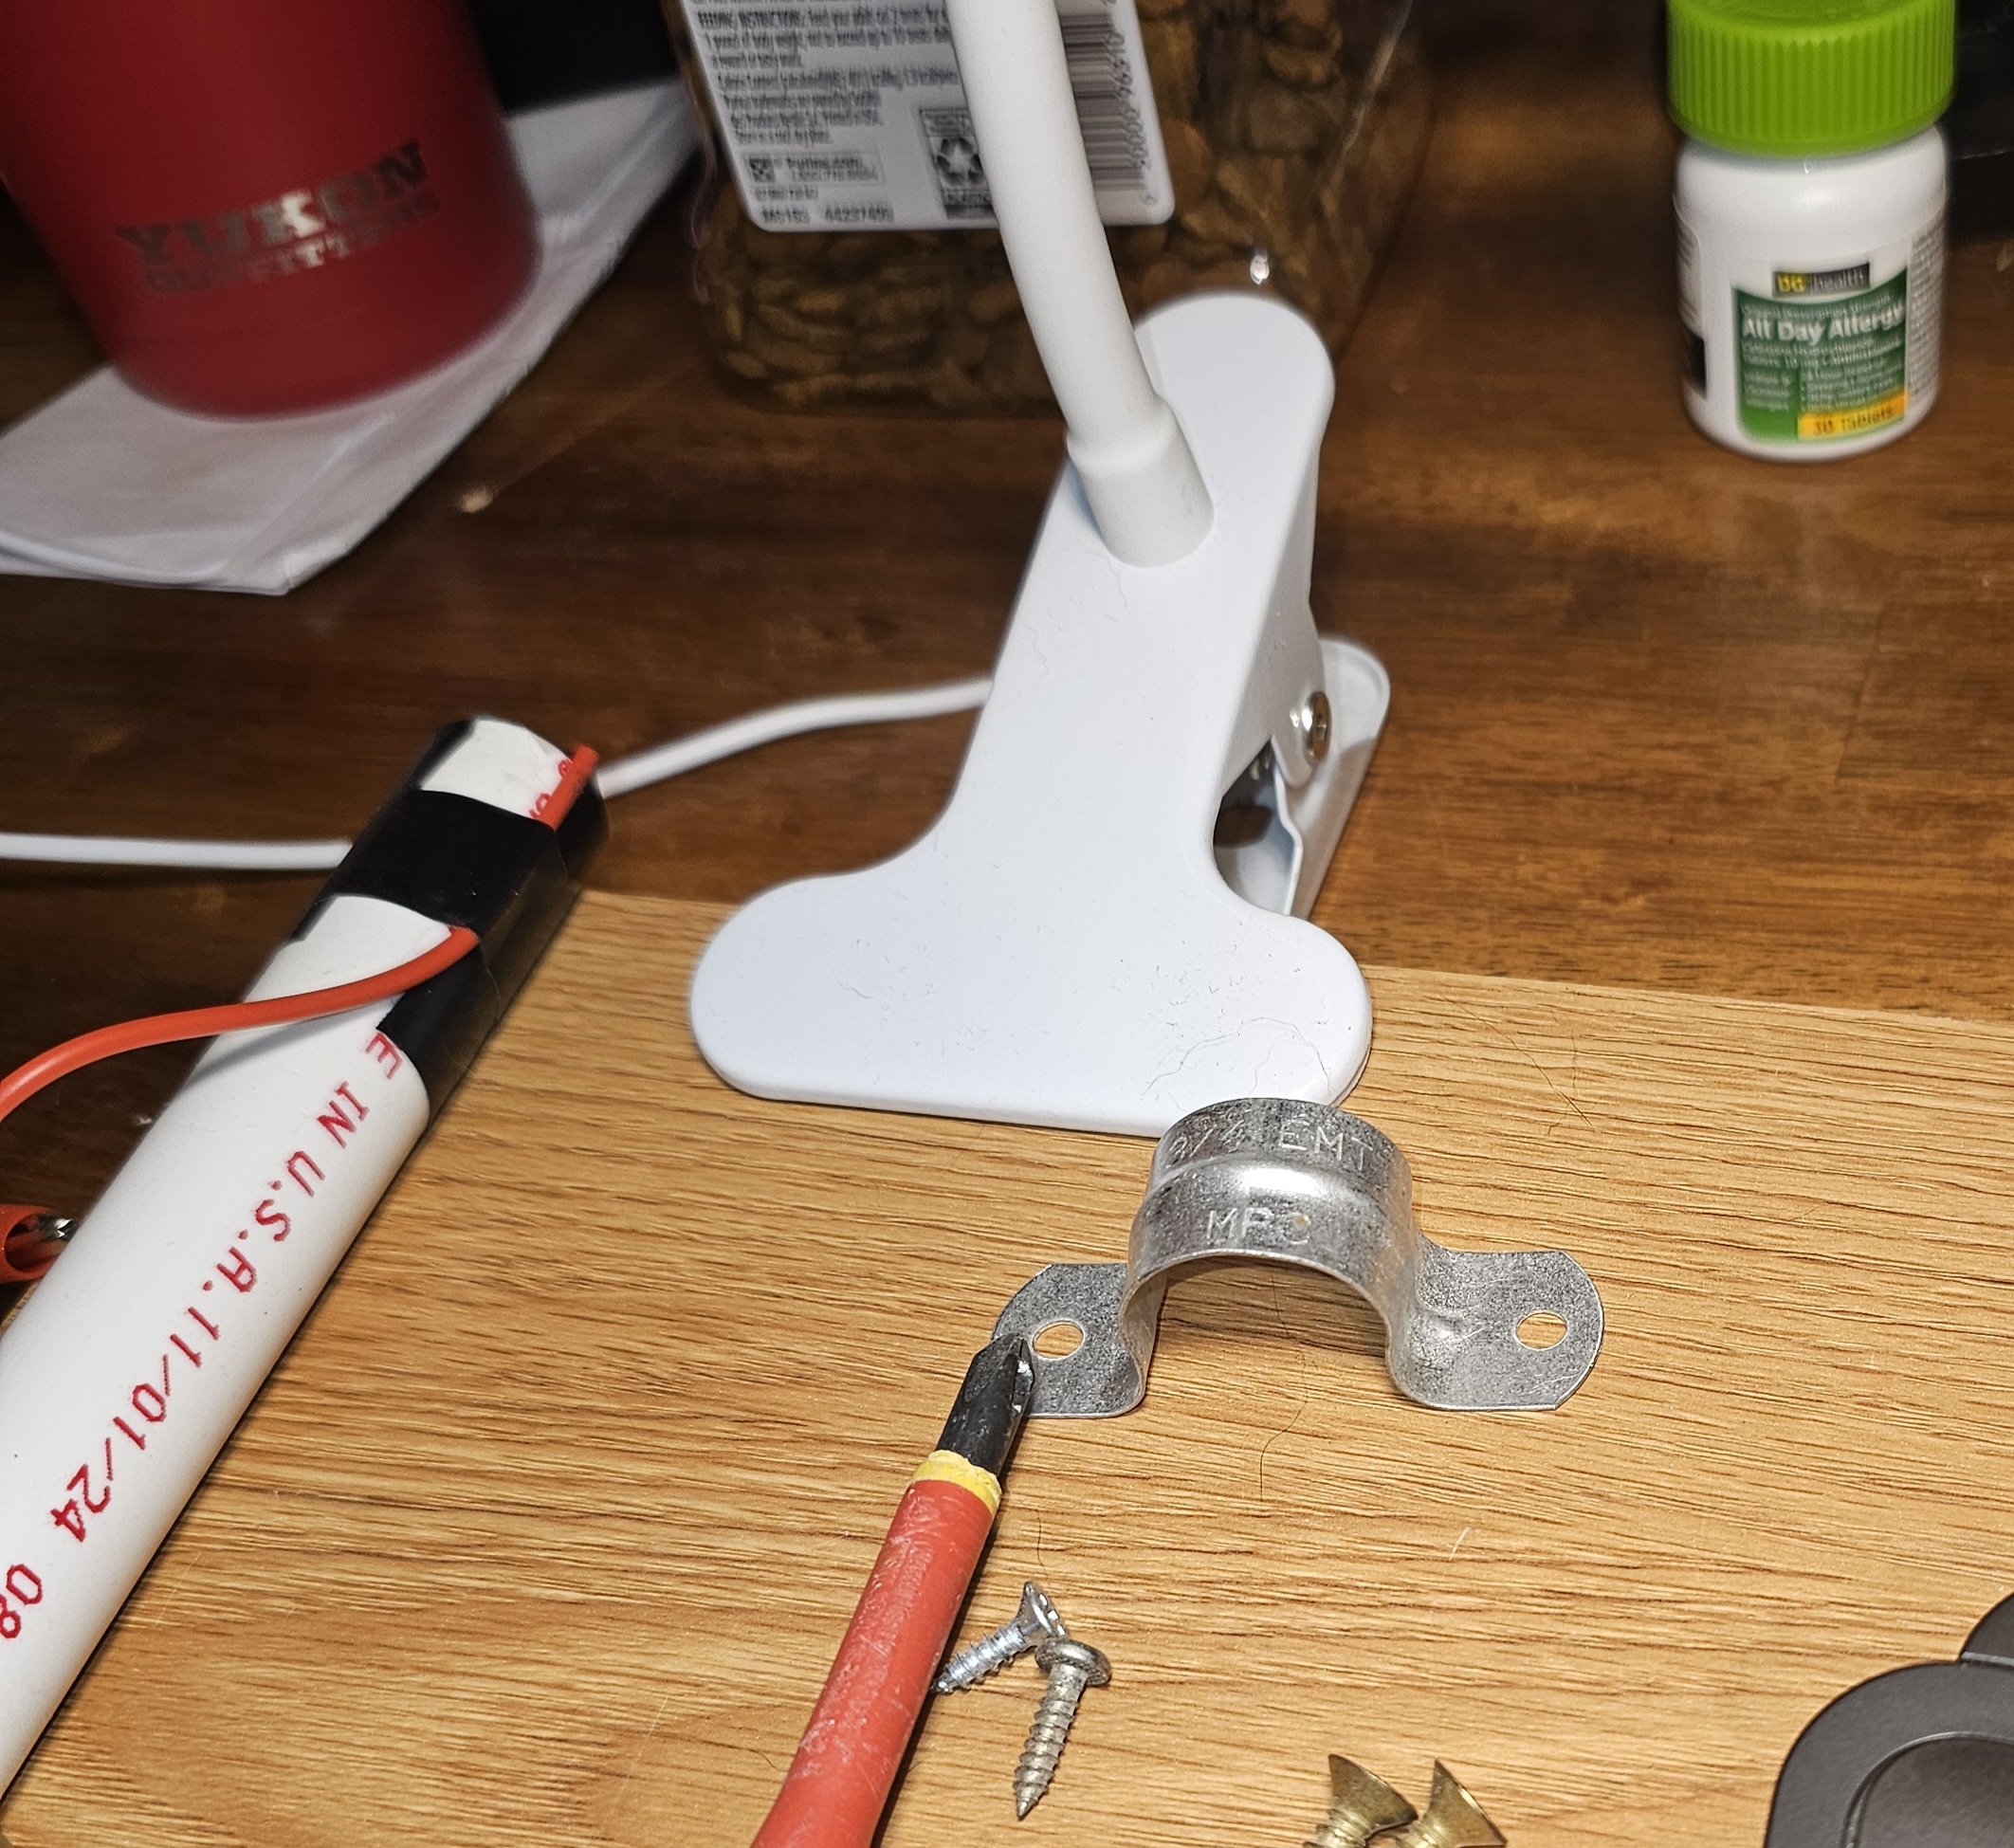
Sticking with our philosophy of keeping it simple, I'm just going to attach this clamp-on mirror to the other upper corner. Not sure what good the mirror might do, but the two clamps lean the board up just a bit, toward me, making it easy to work. And the flexible gooseneck on the mirror will no doubt come in handy for a number of things.
Step four: Tool wrangling
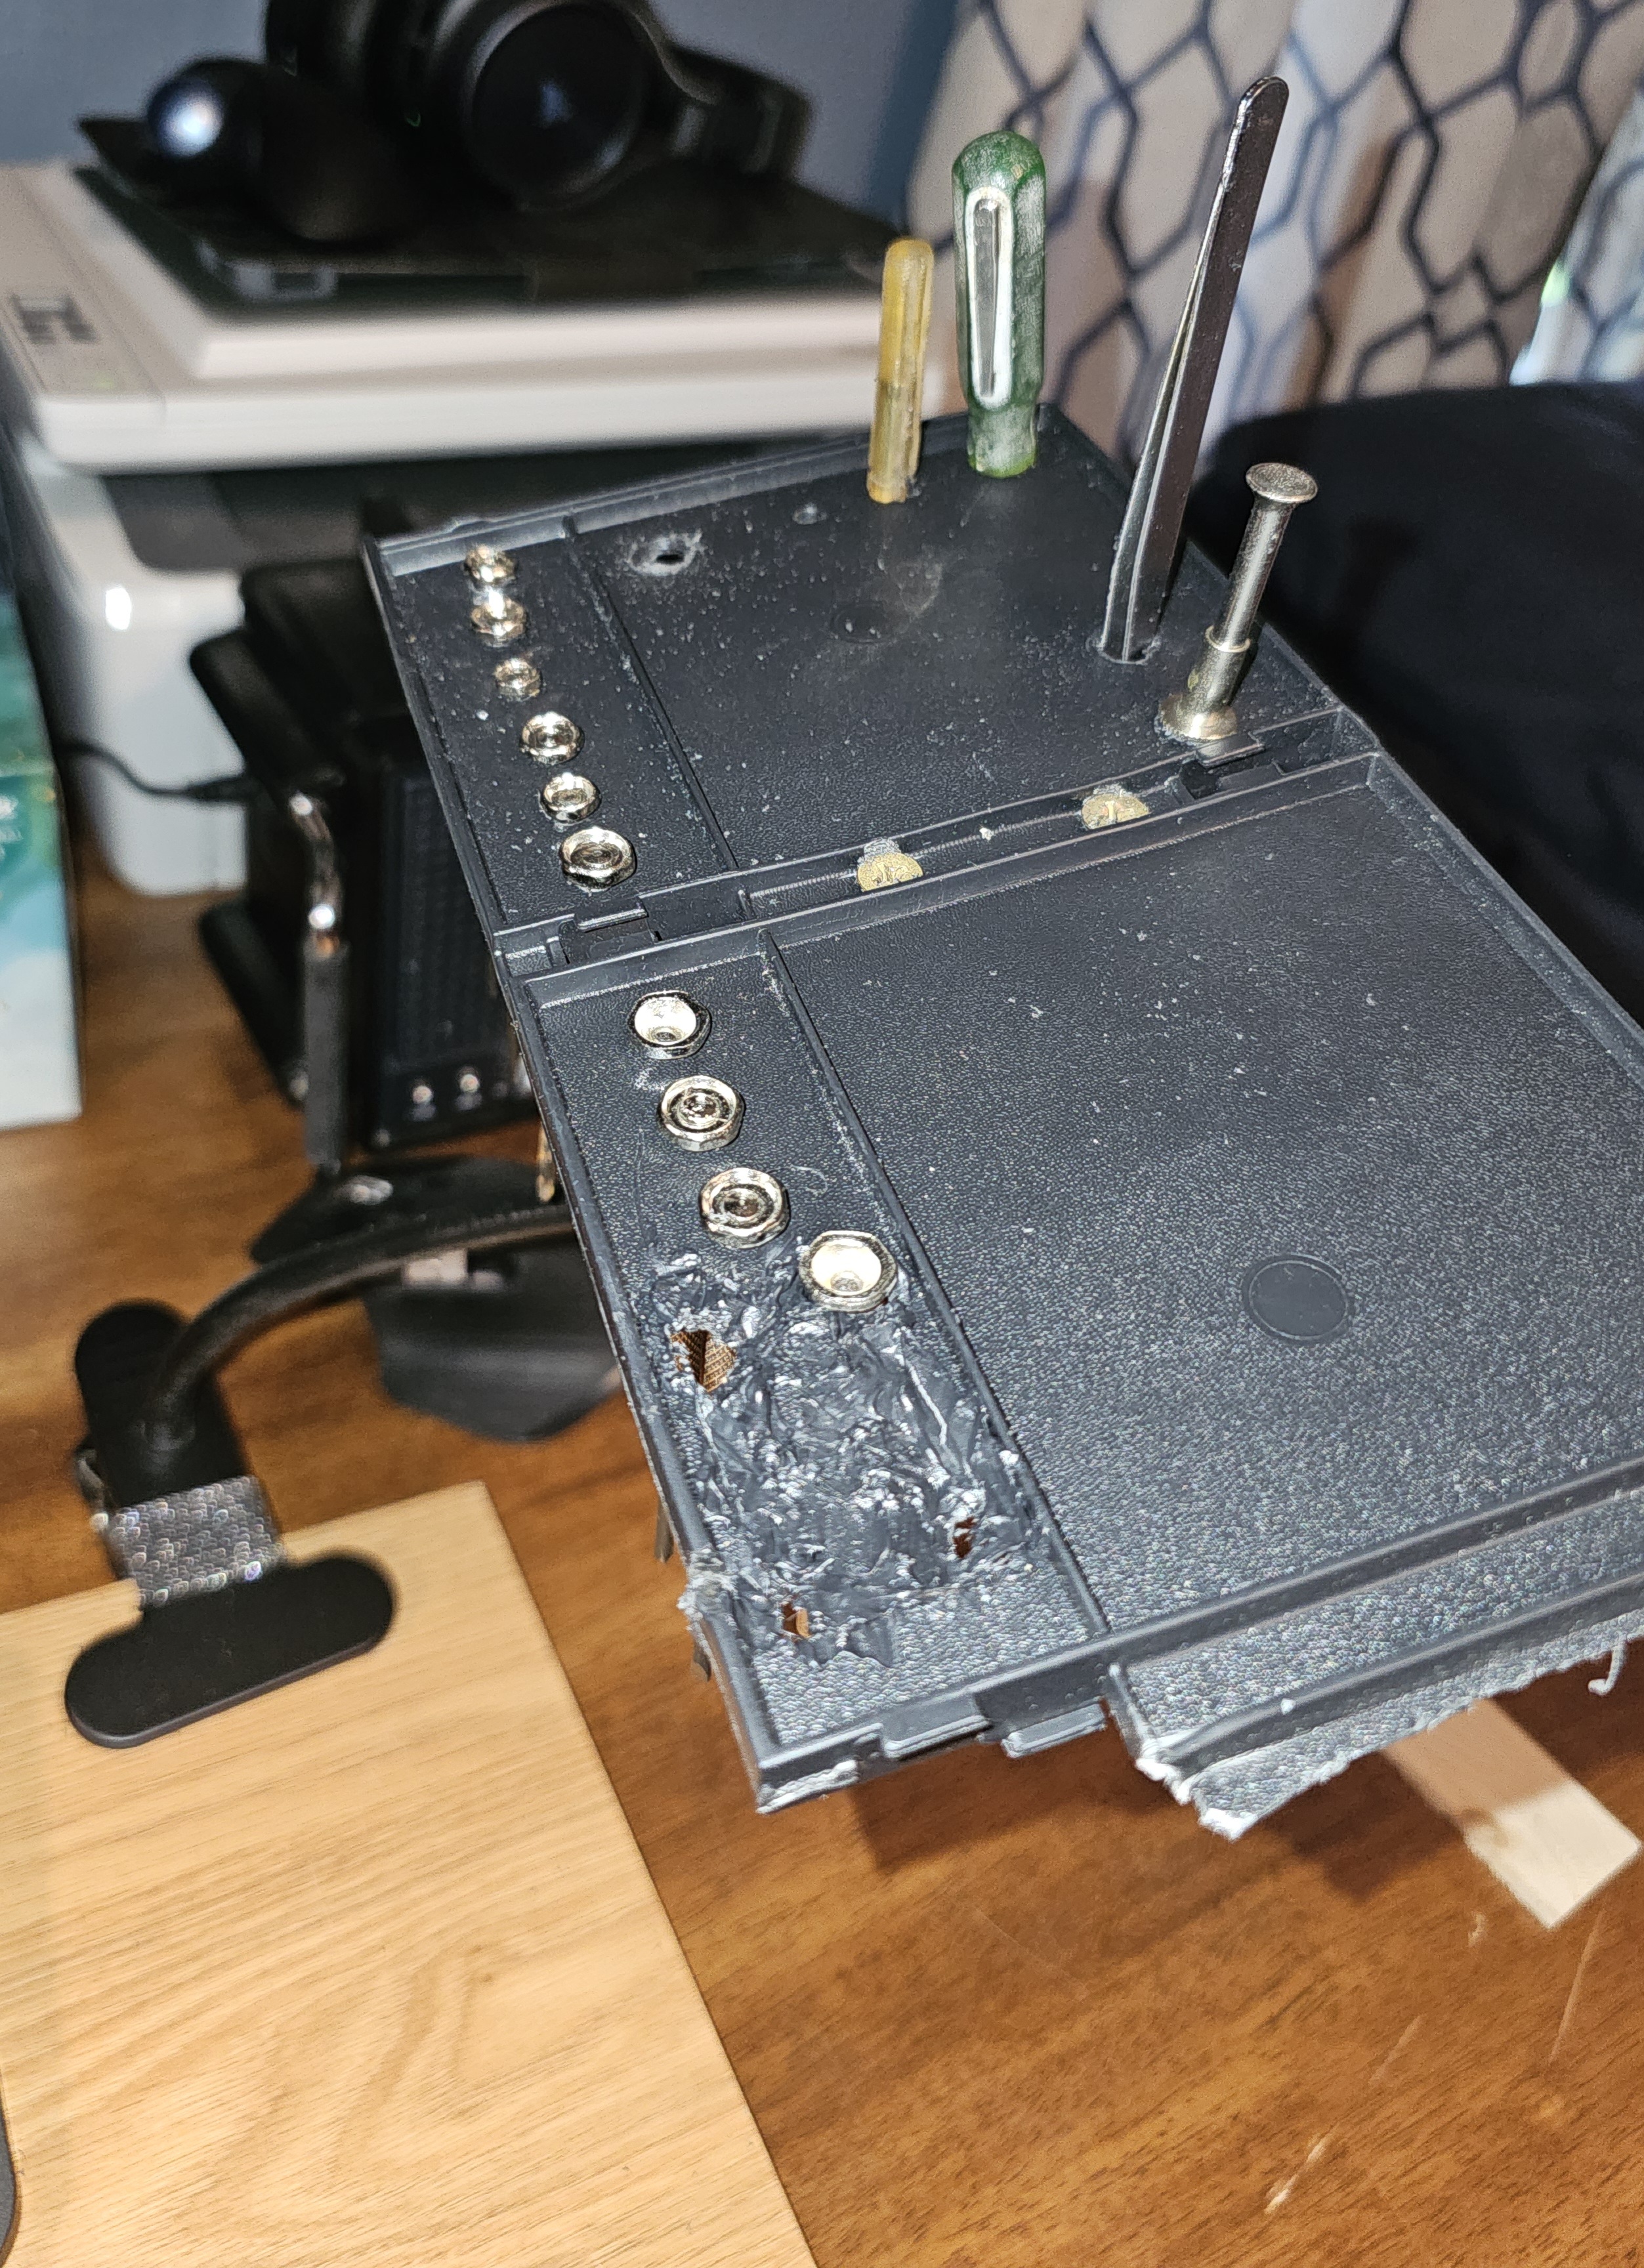
I have 20 or thirty small tools I use when building a project, along with a couple of cased precision sets. If we overthink it, we might try to build some sort of floating tool platform out of that gooseneck mirror, but trust me, that would just be one more thing in the way -- and an unstable, ugly thing, as well. I built one quickly just to demonstrate how it doesn't help.
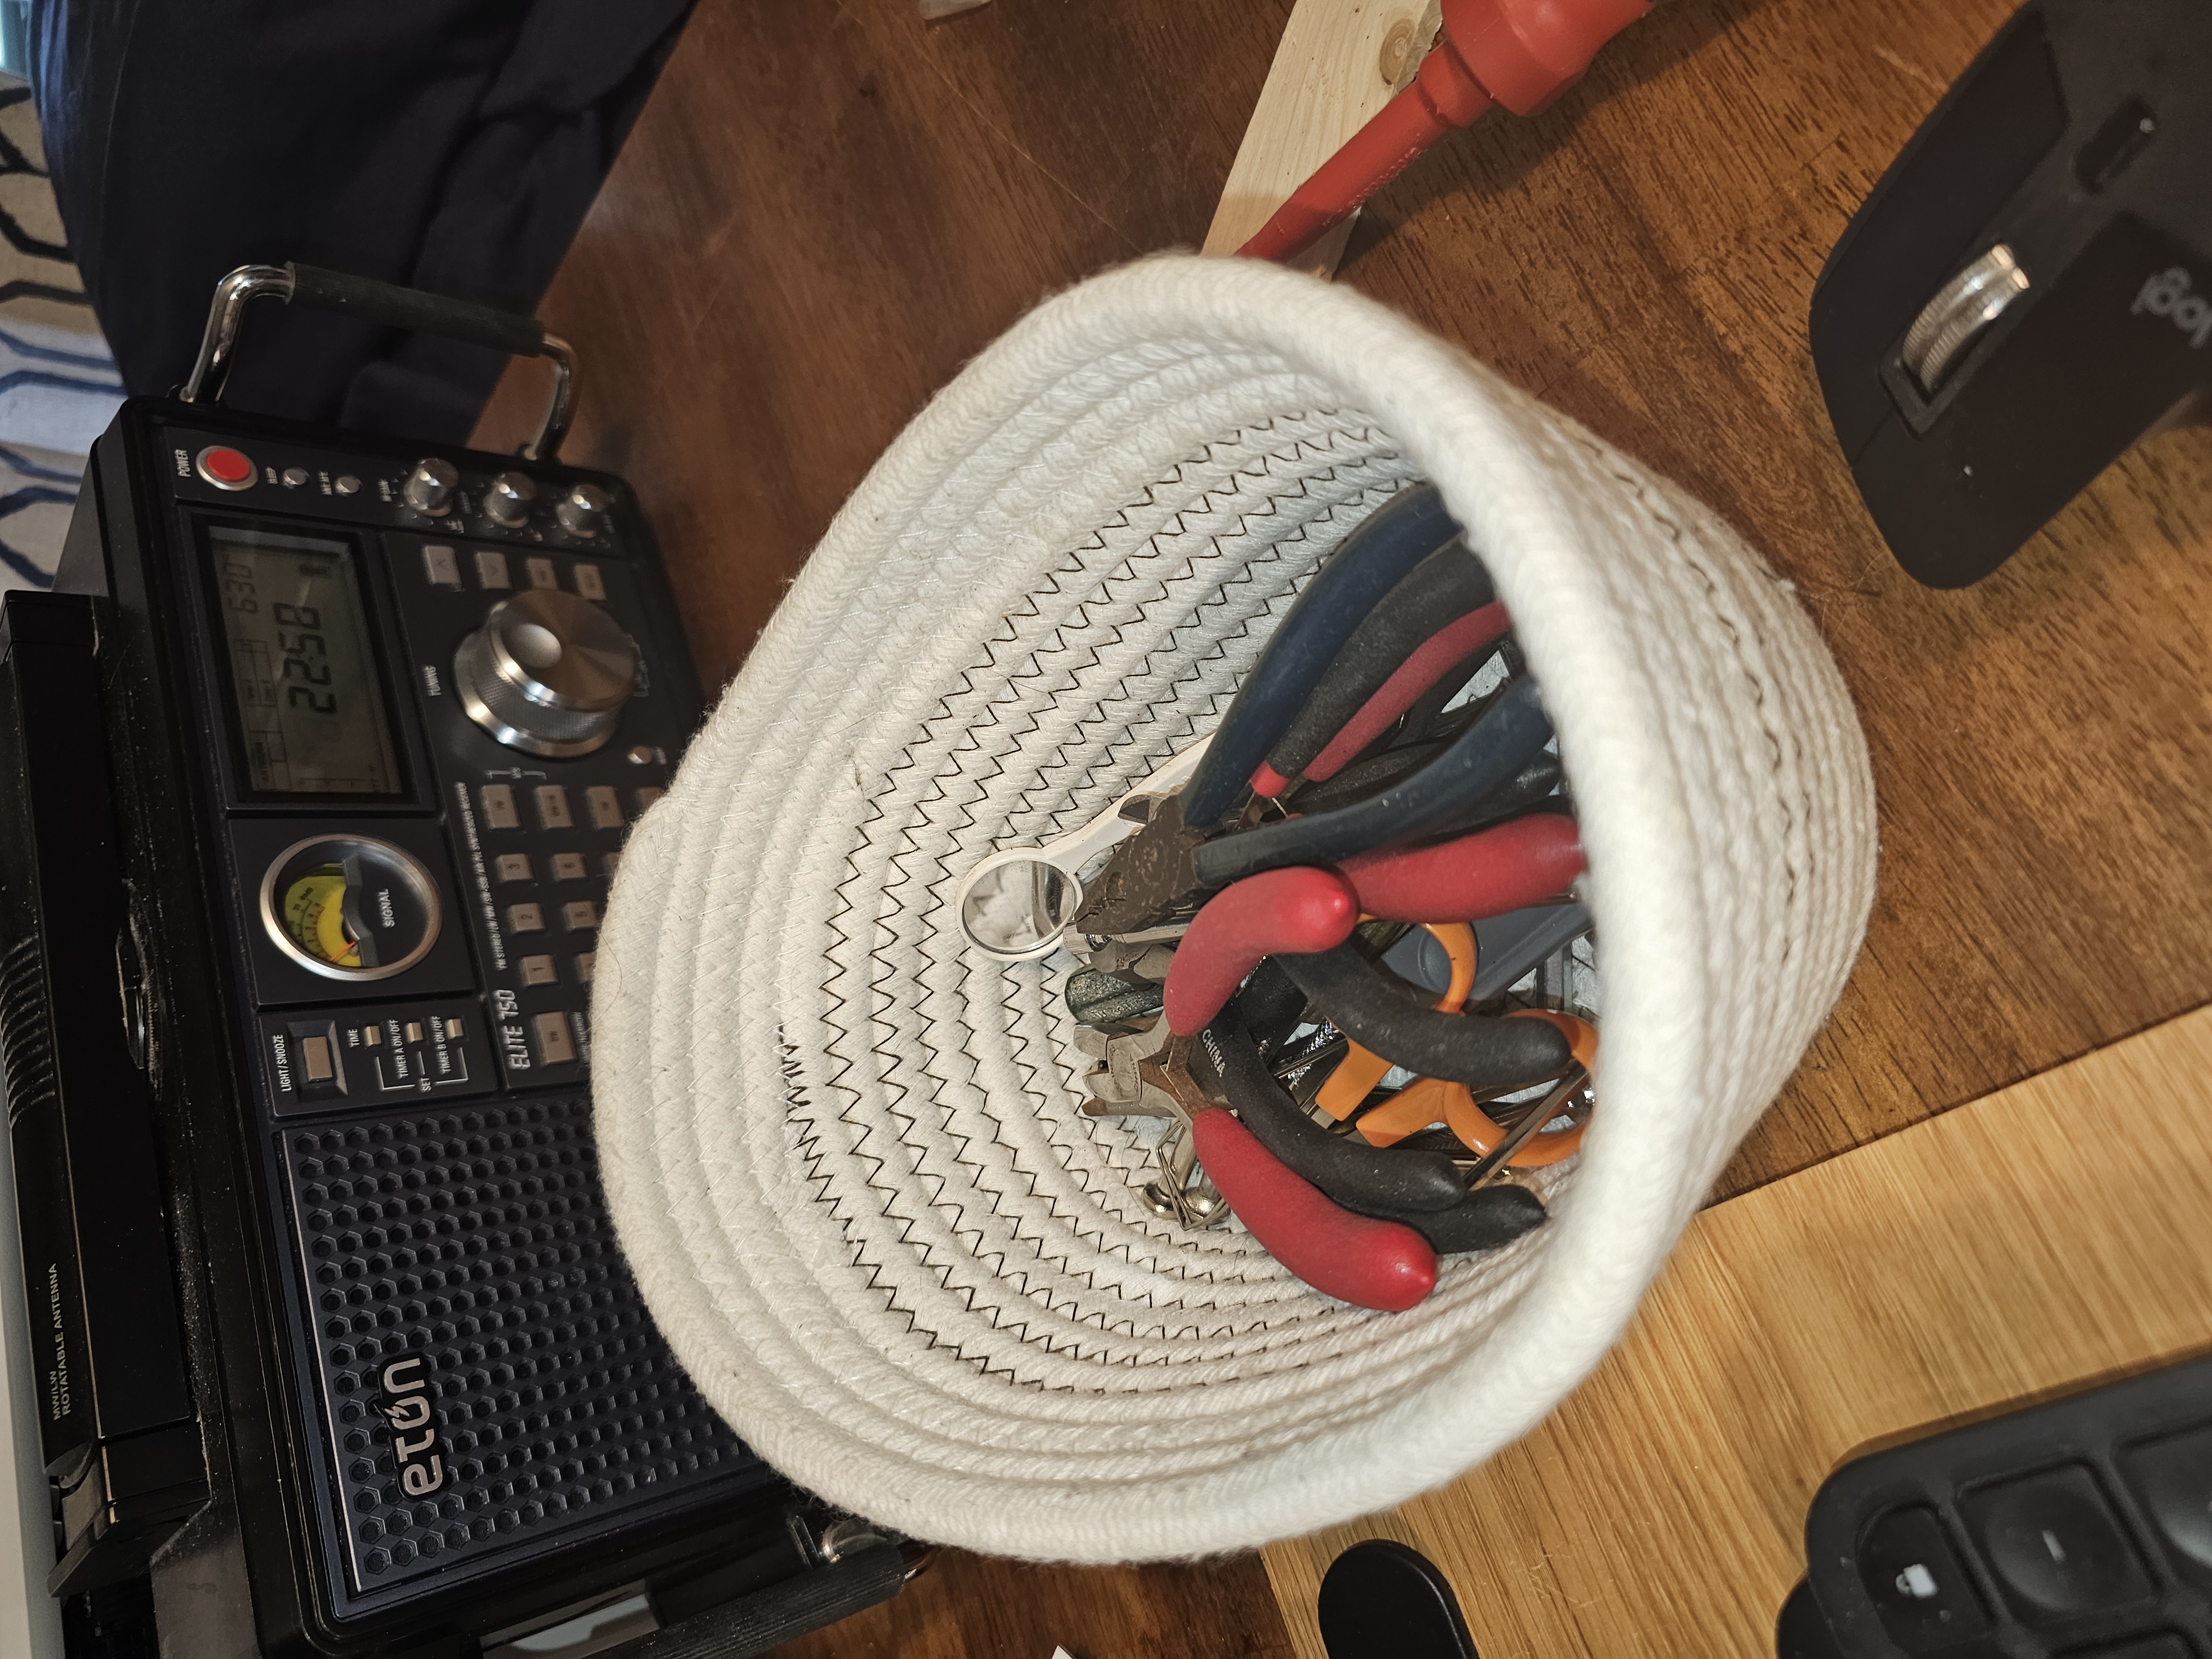
Sticking with simple, we want something that will keep the tools handy without creating the temptation to lay them down on the supporting surface (table, bed, whatever). The mind goes to tool cases and caddies and the like, but no such thing is necessary. All you need is a small basket like this one.
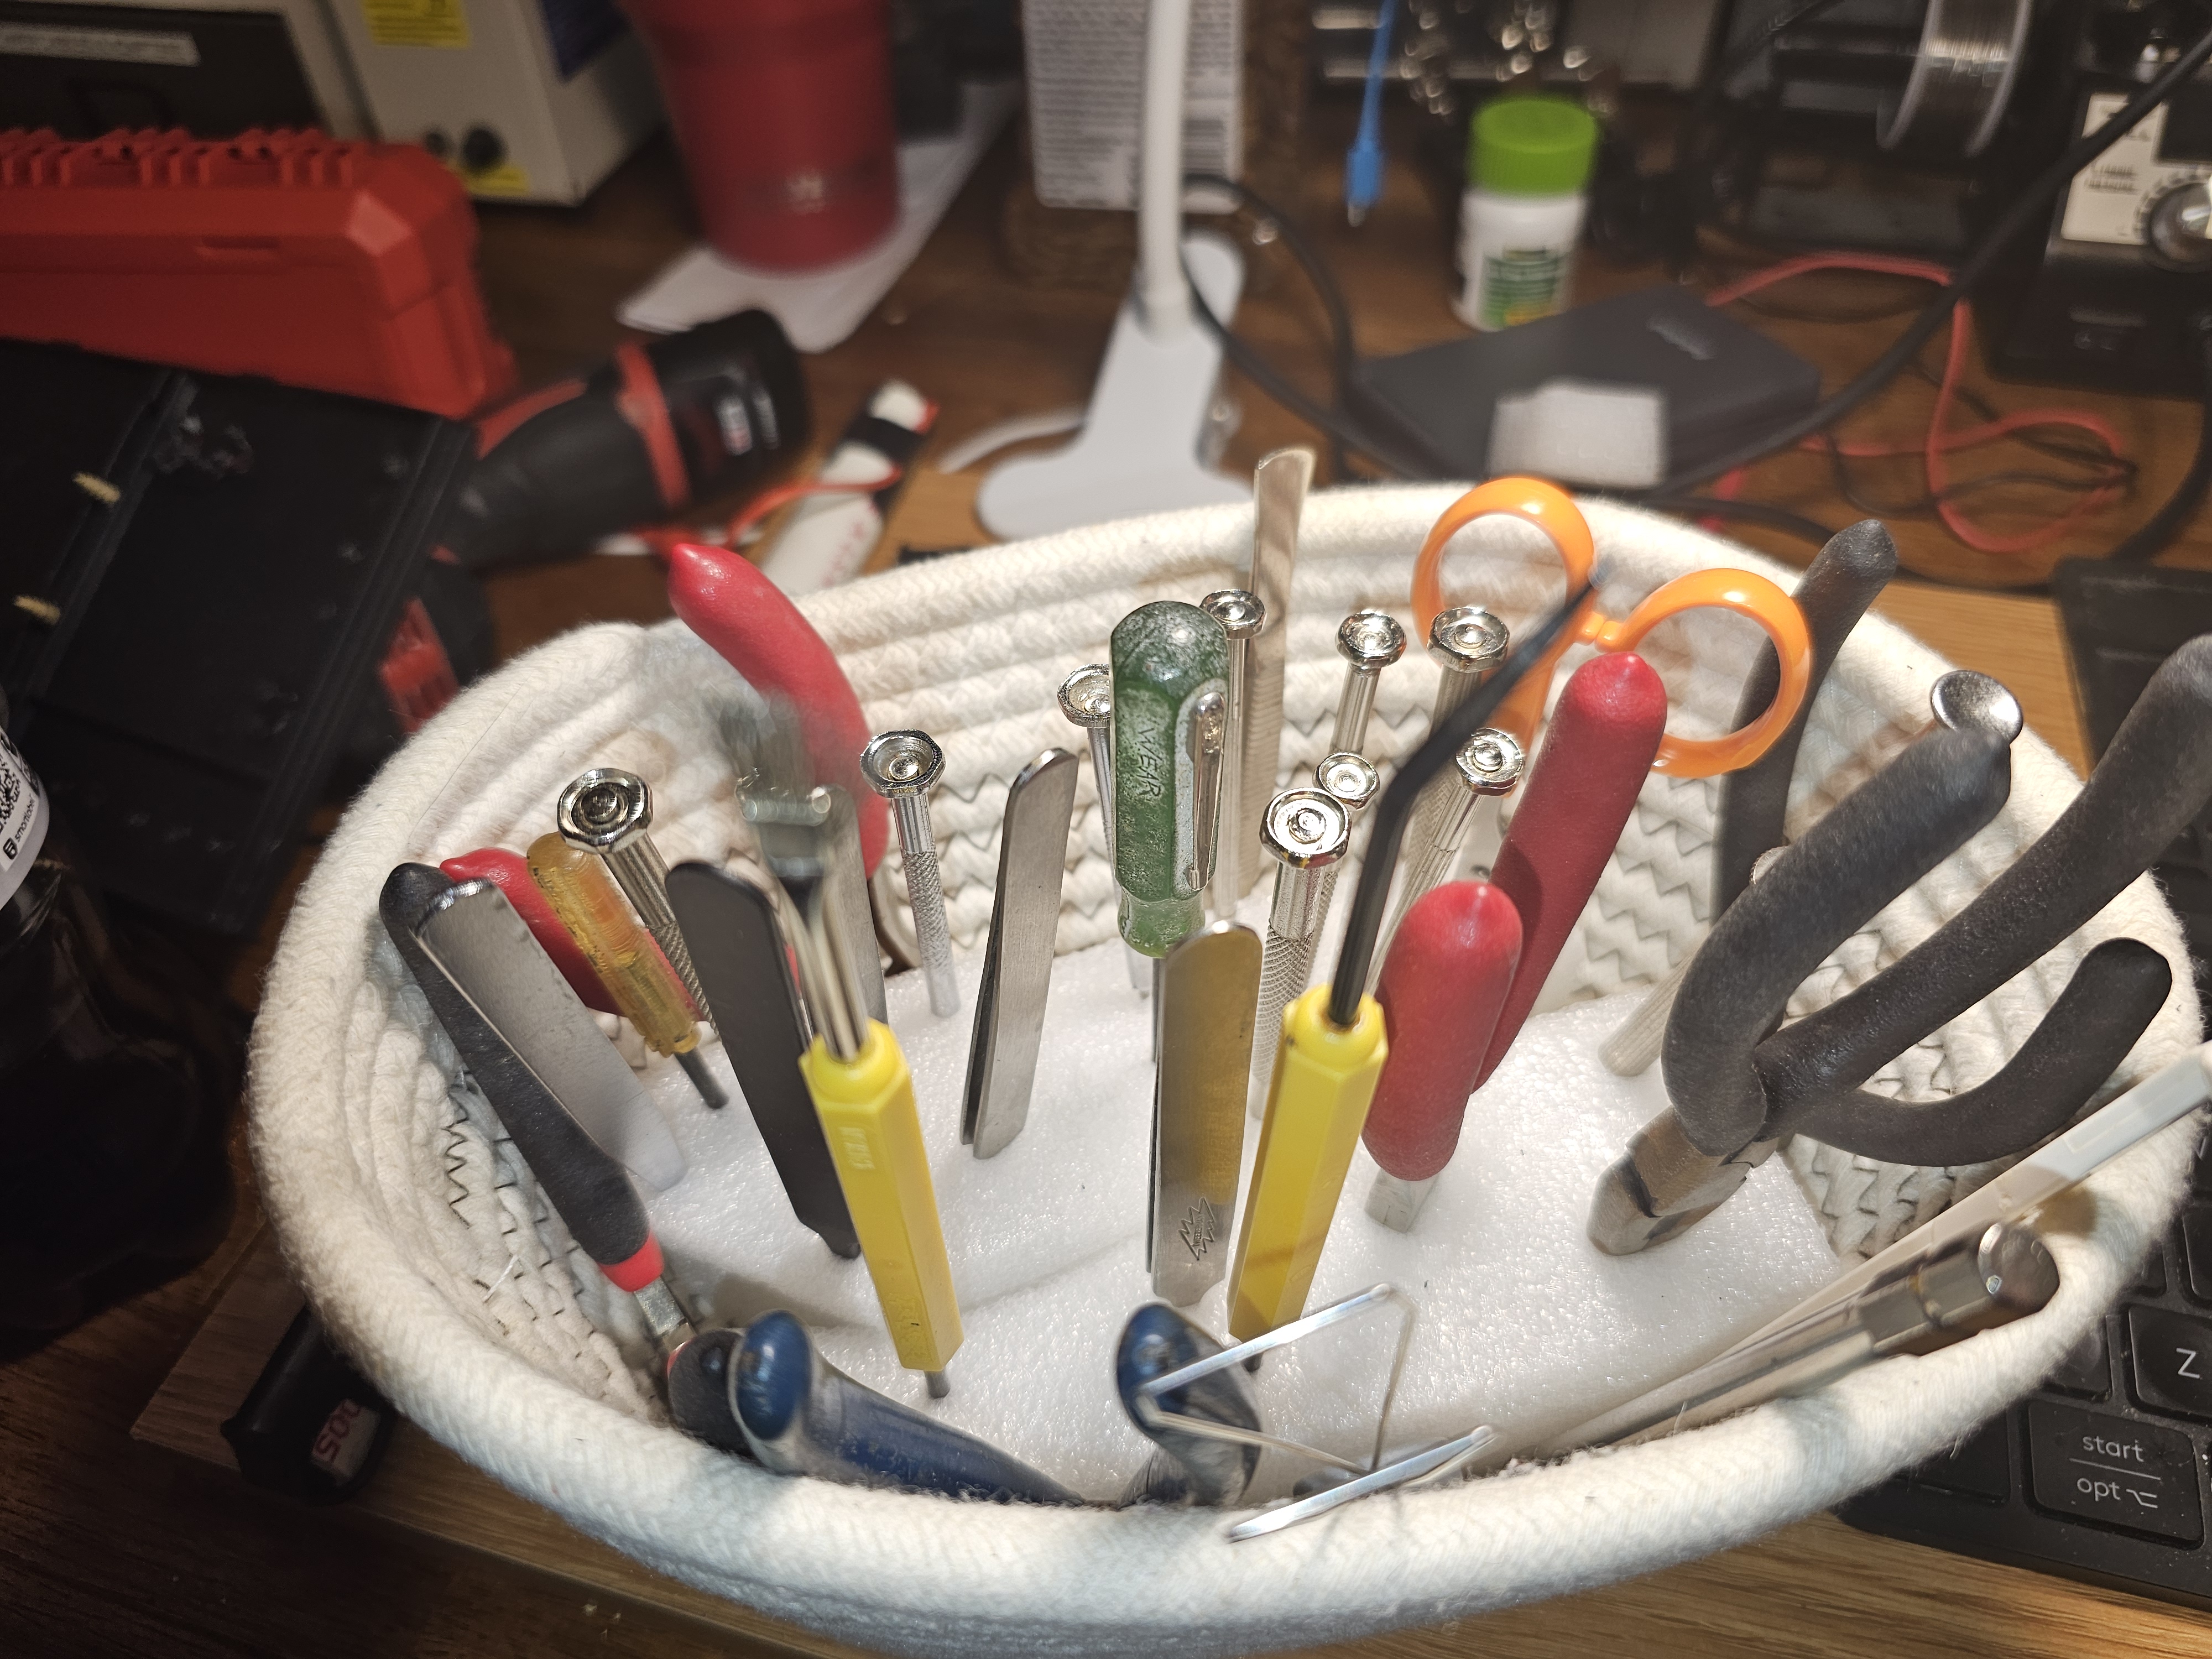
If you really need your tools to stand up (like I prefer), you can just cut a couple of small pieces of floral gum (the green stuff in the bottom of the fake flower arrangements) or soft styrofoam (the kind that won't flake). Cut the styrofoam with some gaps, because some of your tools aren't sharp enough to penetrate the foam. But do look when reaching for a tool: there are sharp edges everywhere.
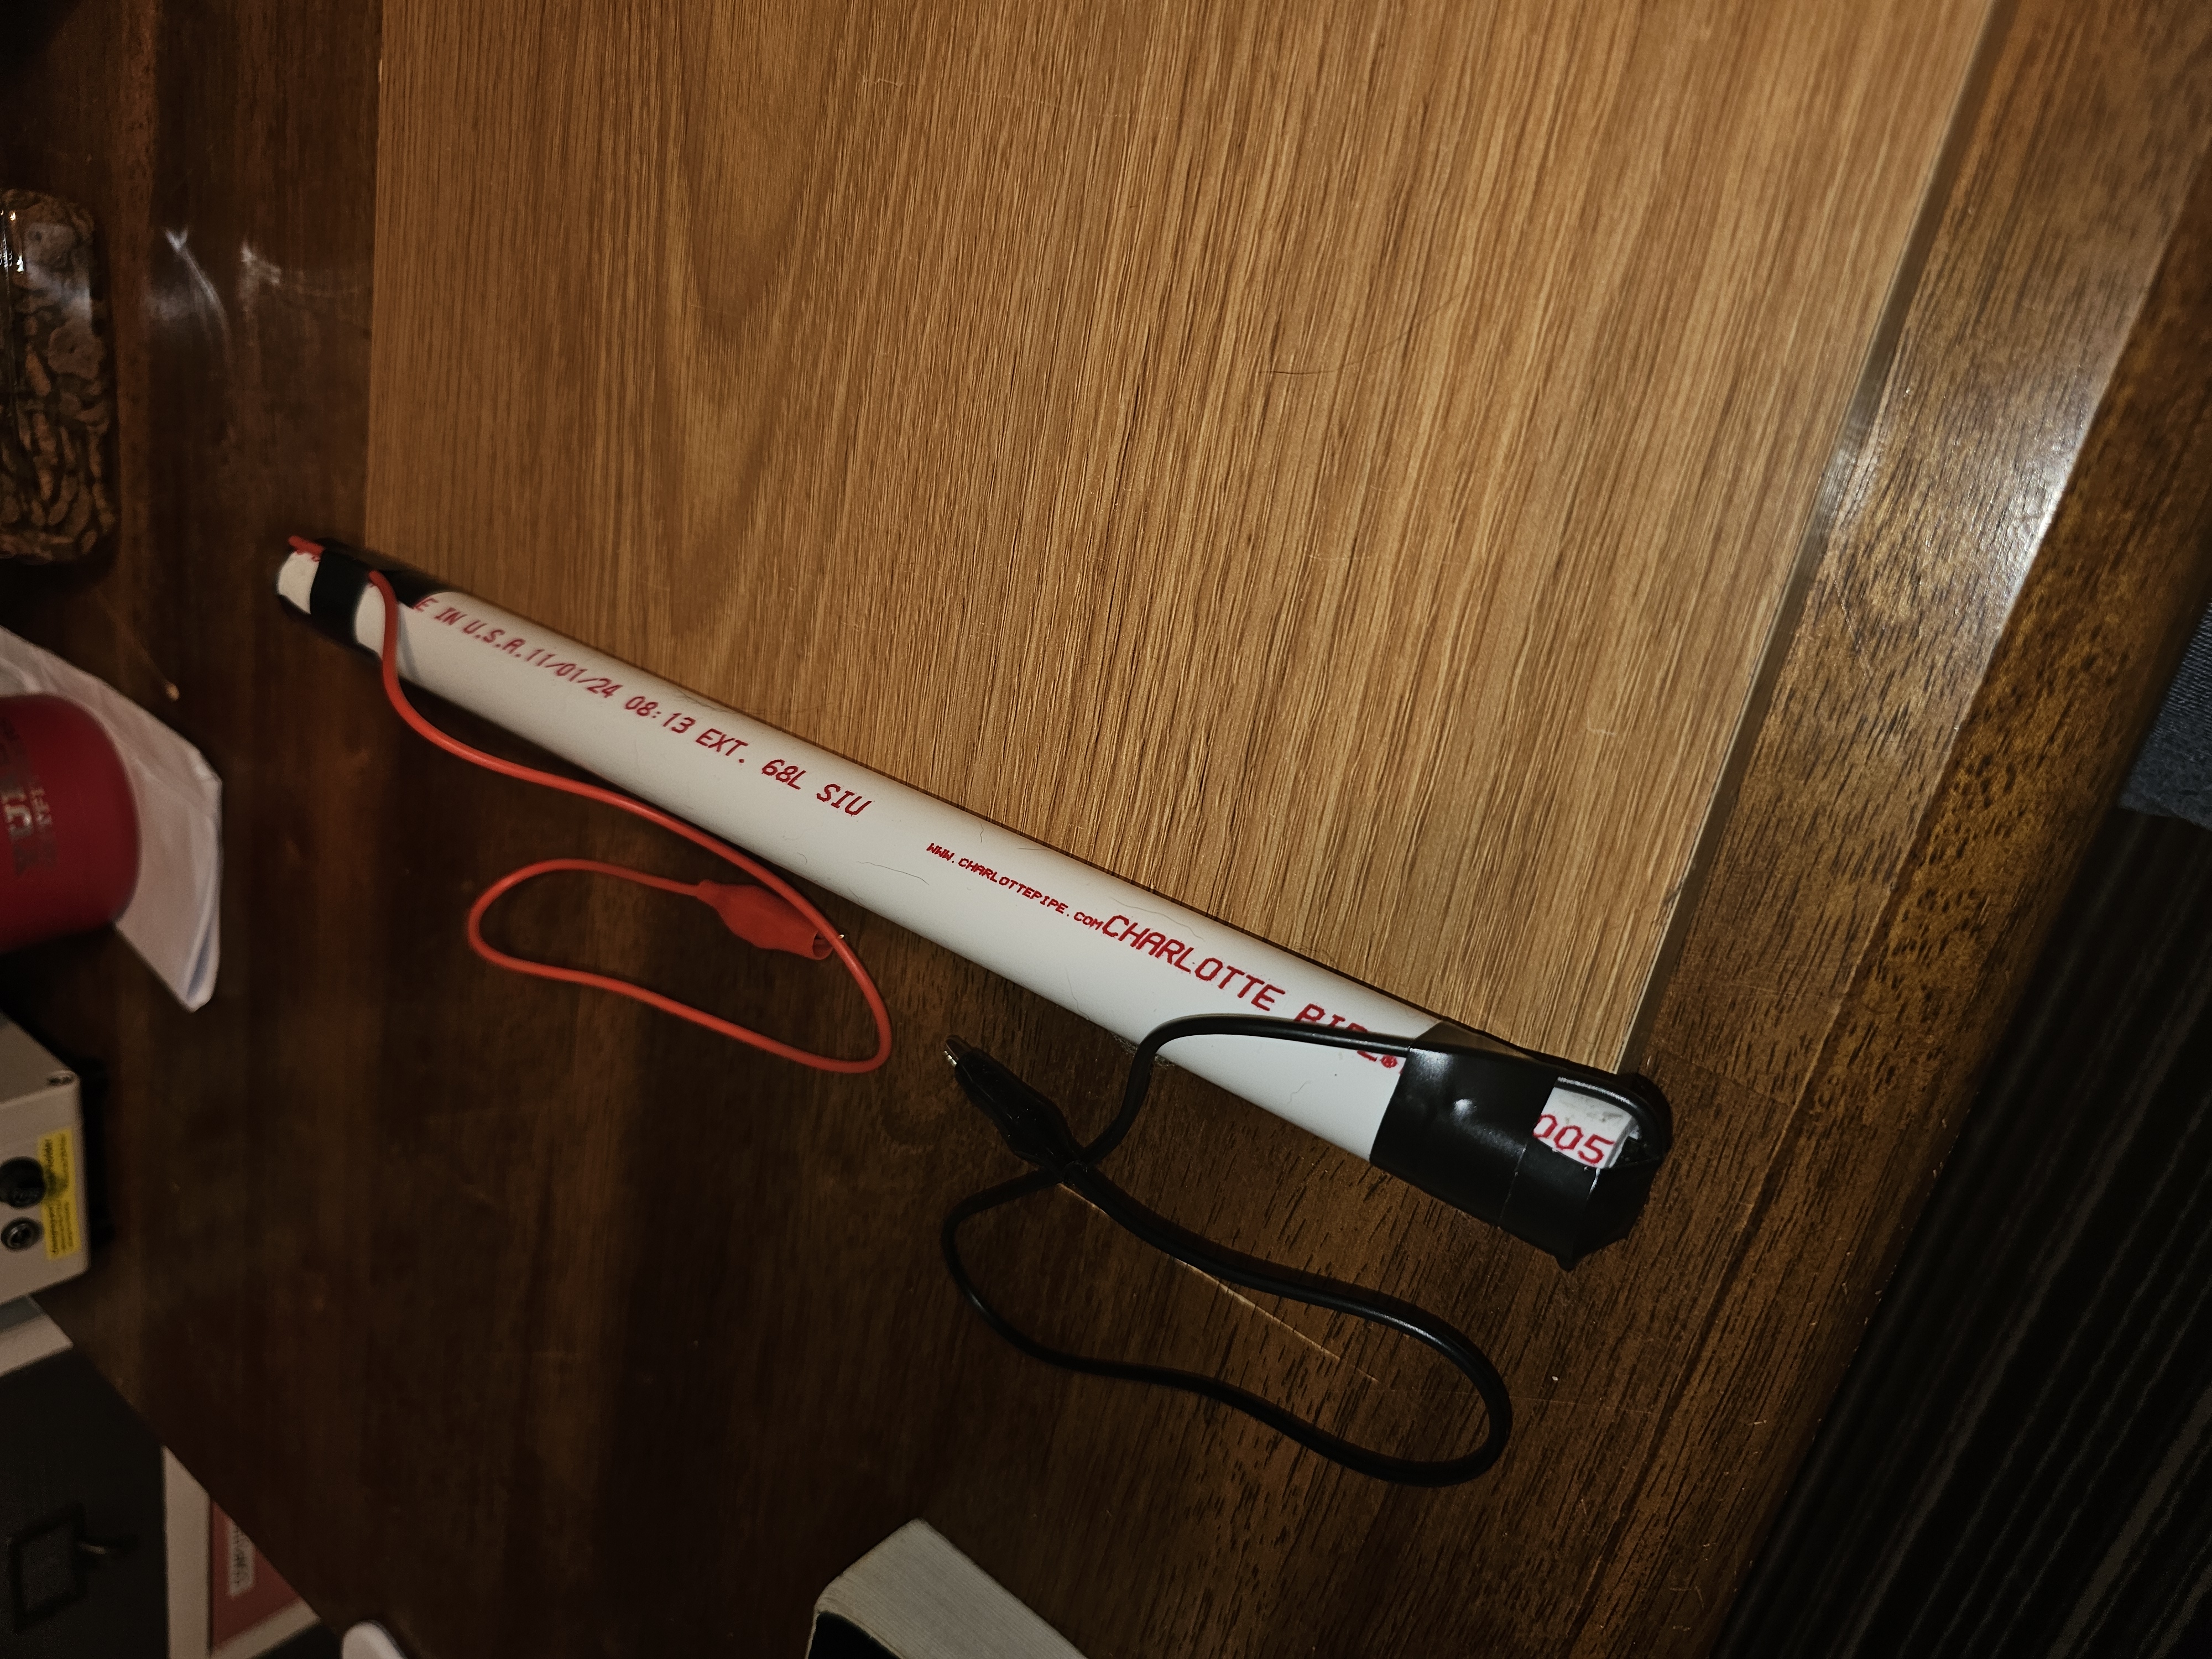
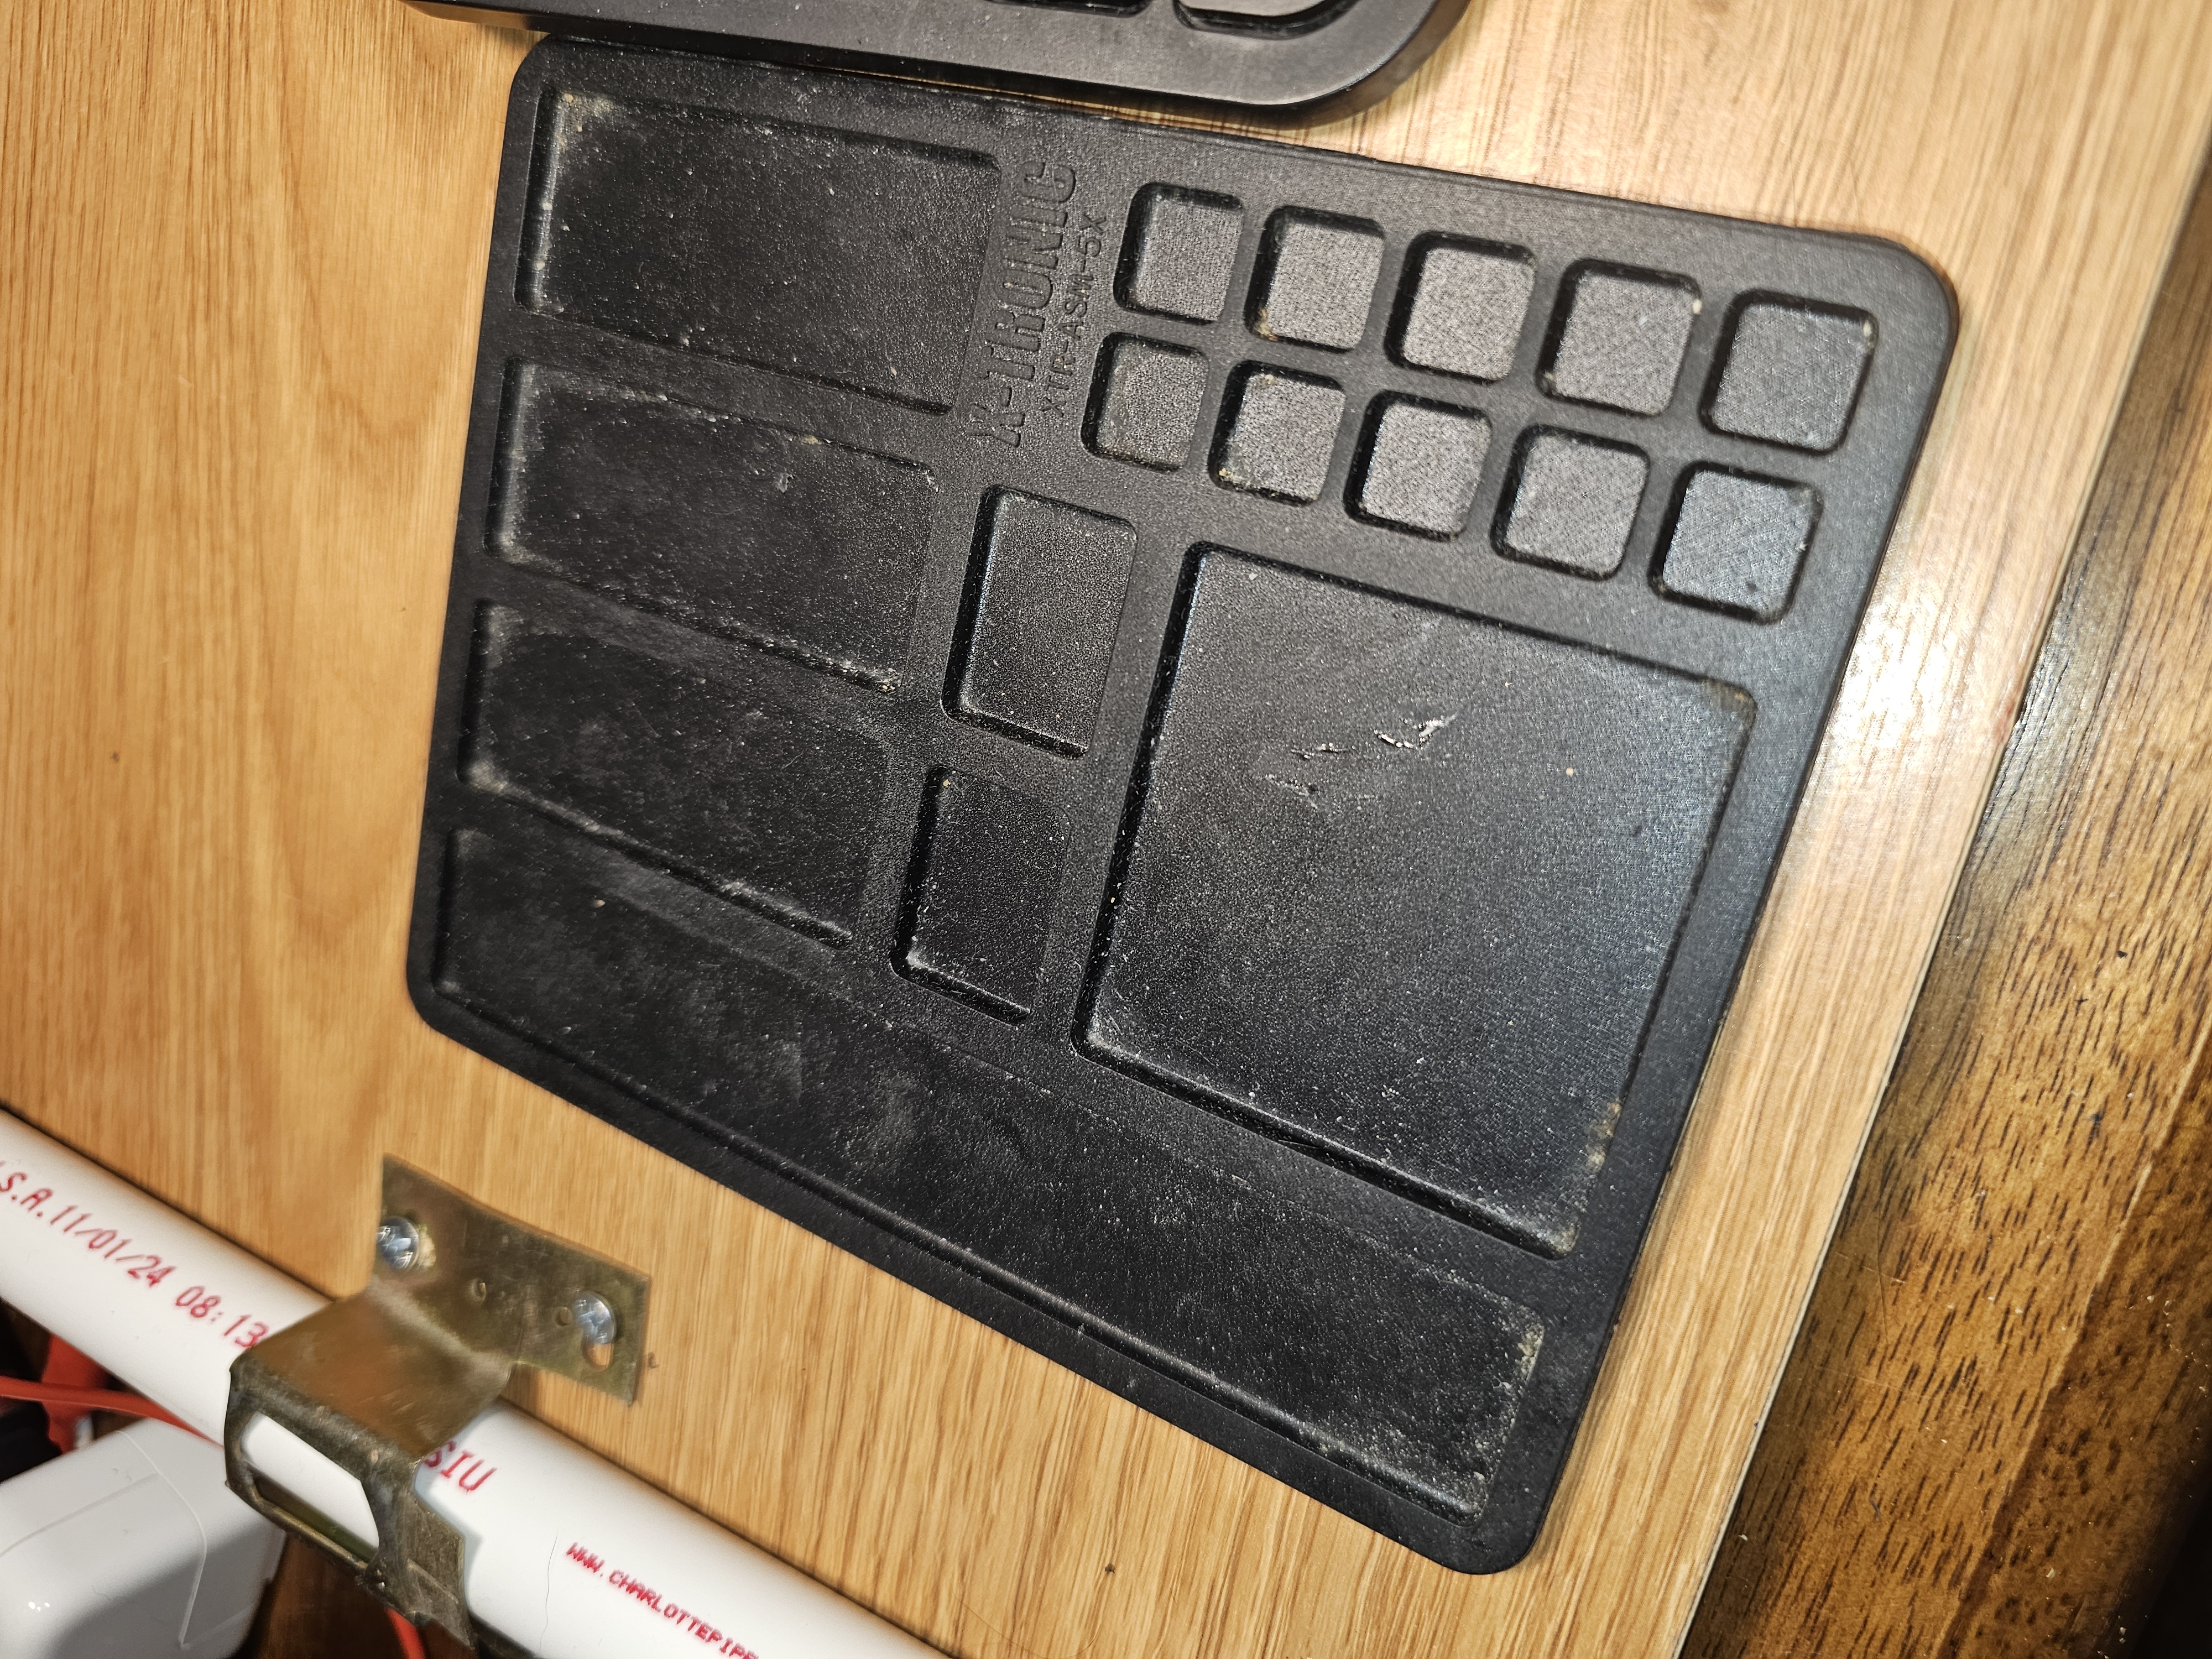
Oh, and make sure to keep a wooden shim with your tools. It comes in handy when you're working on layered or uneven circuit boards. Probably best to buy these if you can. They're usually less than $2.00 for a pack of many more than you'll actually ever need. And while you're spending a few pennies, it's often worthwhile to get a small, heatproof, silicone parts mat, like this one. They double as a soldering surface, since they're highly heat-resistant.
That's about all there is to the Stable Workbench (SWB). You'll also need a platform to build circuits, but that is the next project: the flexible breadboard. Stay tuned.