What this project is about
We're going to build a simple, modular power supply using standard drugstore batteries. But before we can trust any circuit powered by these, we need to ask: Are these batteries even any good?
Step one: Build a visual battery tester
Without a voltmeter? No problem. We'll wire up a green LED and resistor as a primitive voltage indicator. If the LED lights up, the battery still has some life. It’s not precise — it’s practical.
First of all, consider the equation LED + Resistor = Instant Insight. Our tester is simple: a greenLED and a 330Ω resistor in series. Connect the leads to the battery and observe. No glow? Maybe it’s dead, but maybe not.
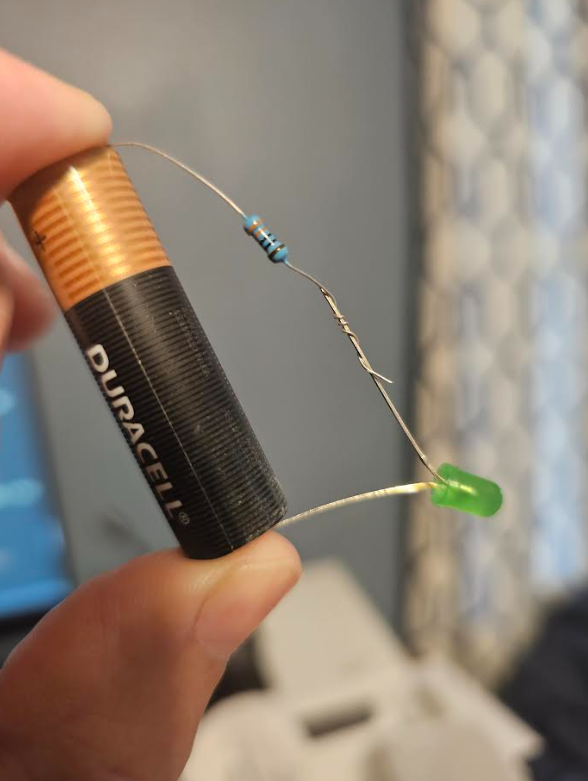
To analyze it, let's use Ohm’s Law: I = (V_battery - V_forward) / R. The LED won’t light until the battery provides enough current above the LED’s forward voltage threshold. Red LEDs light around 1.8V, greens higher, blues higher still. So even if your 1.5V battery doesn’t light one, it might not be dead — just mismatched.

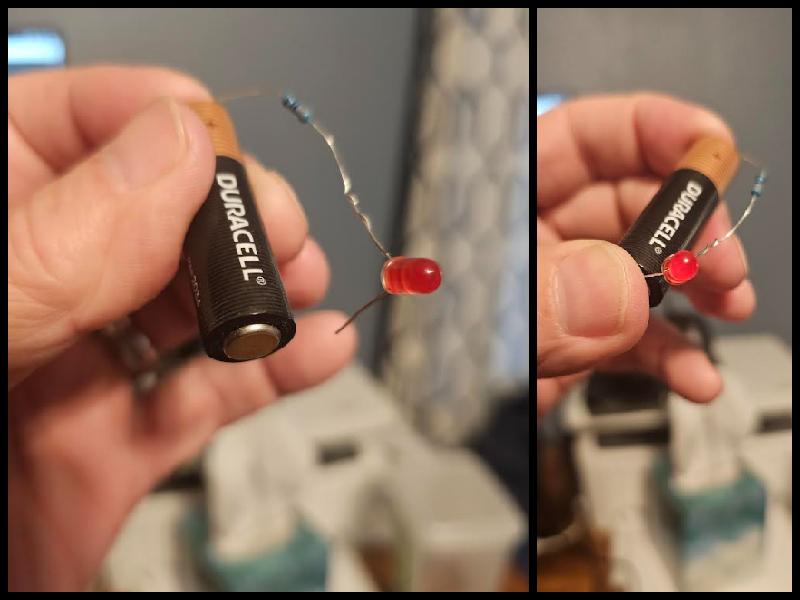
Let’s test a red LED, which has lower forward voltage. Guess what? It glows. That’s your visual voltmeter in action.
Batch testing batteries
Time to test our random pile of batteries. We’ll measure each battery with our little tester circuit and record the results:
| Battery # | Red LED Response |
|---|---|
| 1 (Brand A) | Visible |
| 2 (Brand A) | Visible |
| 3–4 (Brand B) | No response |
| 5–10 (Brand A) | Visible |
Conclusion? Brand A’s either fresher than Brand B, or just gives a better voltage response. We'll talk about that later, but Brand A is probably built to set the lower end of the tolerance at 1.5V, meaning it may give +10% to 20% more, but never less than the minimum nominal voltage (i.e. 1.5V).
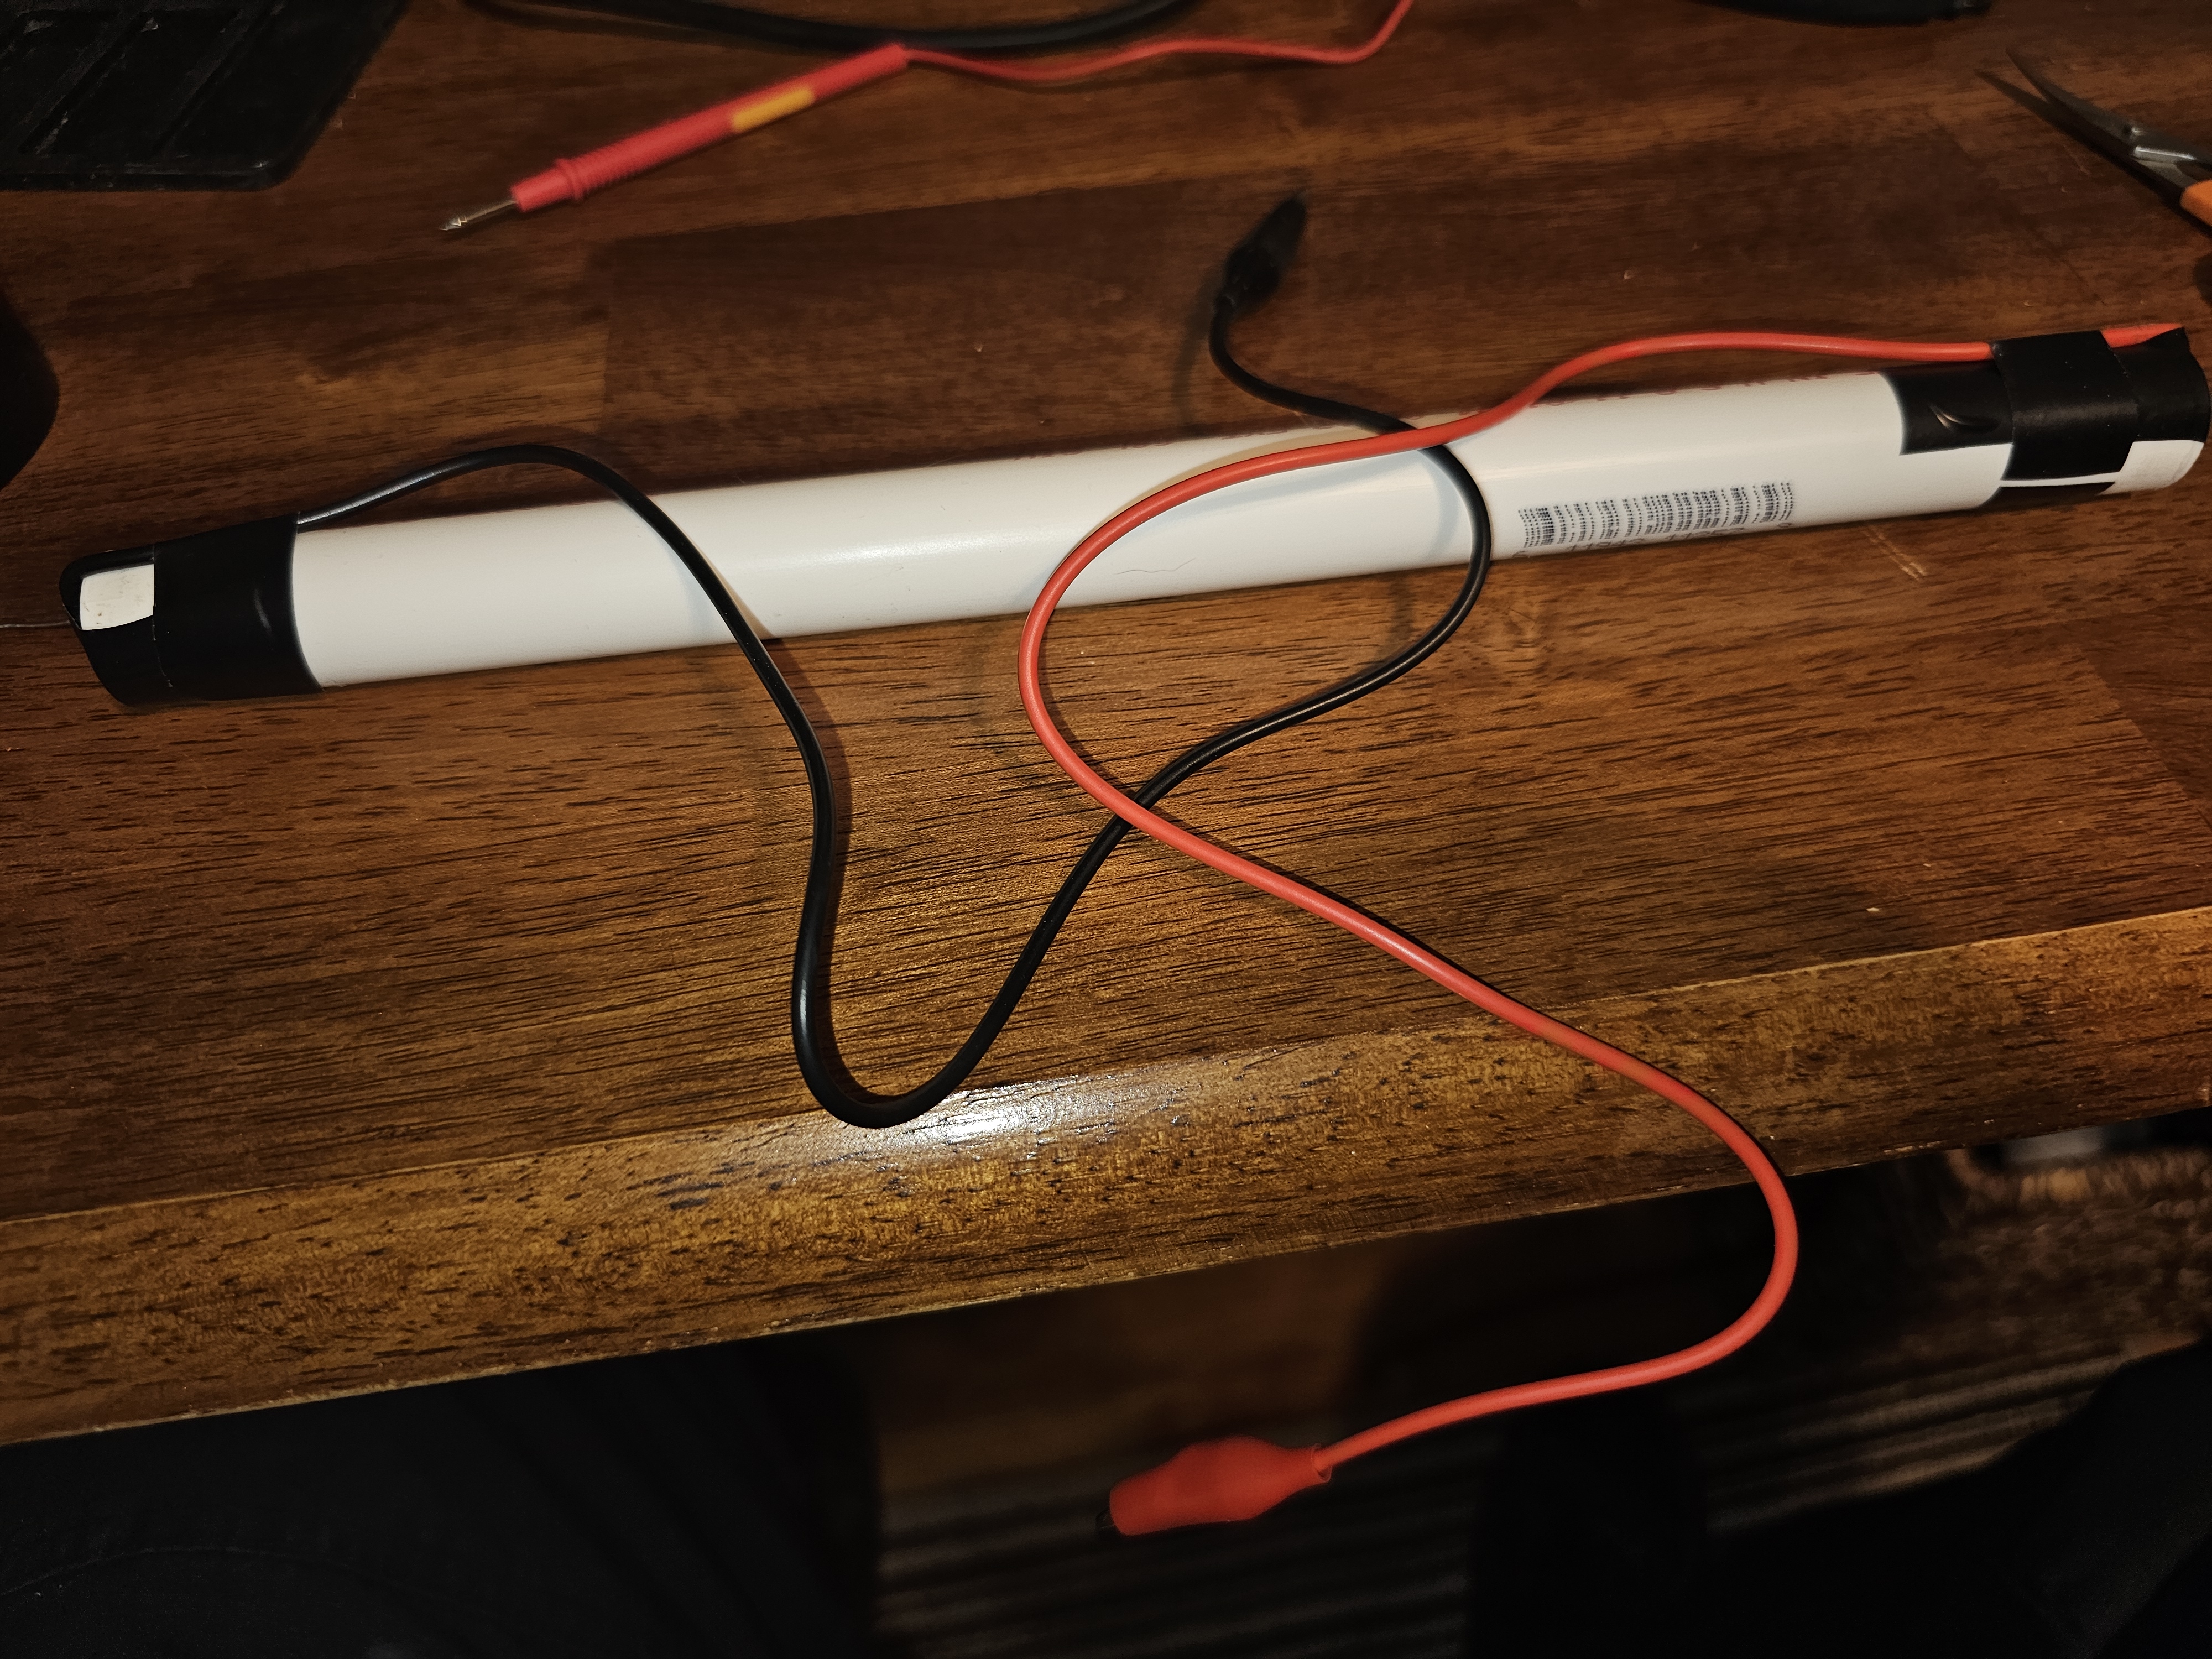
We can get a better view with 3.0 VDC (Volts of Direct Current), which is two AA batteres in series. Here's a very hacky test rig for that.
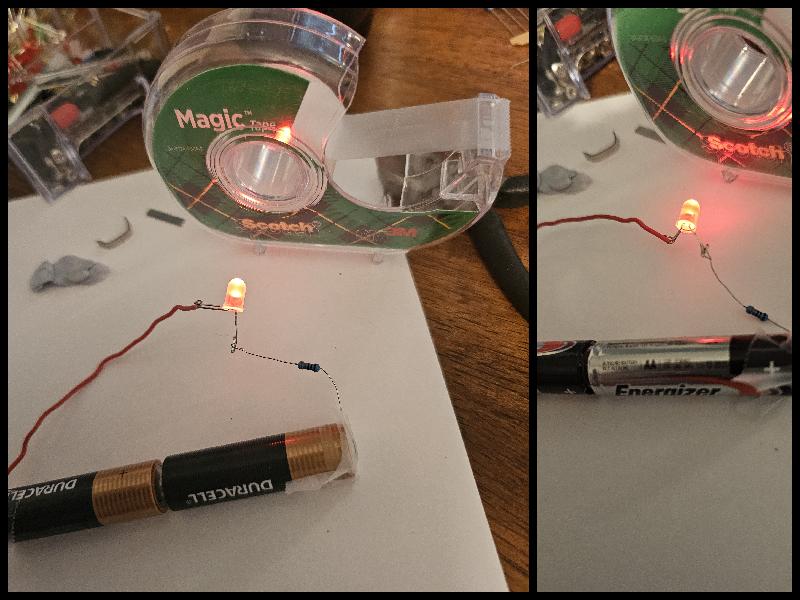
Note to self: Don’t overthink simple problems. I tried fancier connectors, adhesives, tricks. But in the end? A little scotch tape and a longer jumper wire won the day. Lesson: don’t look for clever solutions to simple problems.
Step two: Build a box
So let's carry away that lesson about simple problems and simple solutions. I'd like to get a basic 9 VDC power source in a small package (that's called small form factor in tech lingo). That's 6 AA batteries in series.
Digging around on the farm, there are lots of wooden, plastic, and metal scraps that we could "machine" into a nice battery box. Plastic is the best choice, and there are all kinds of plastic things around.
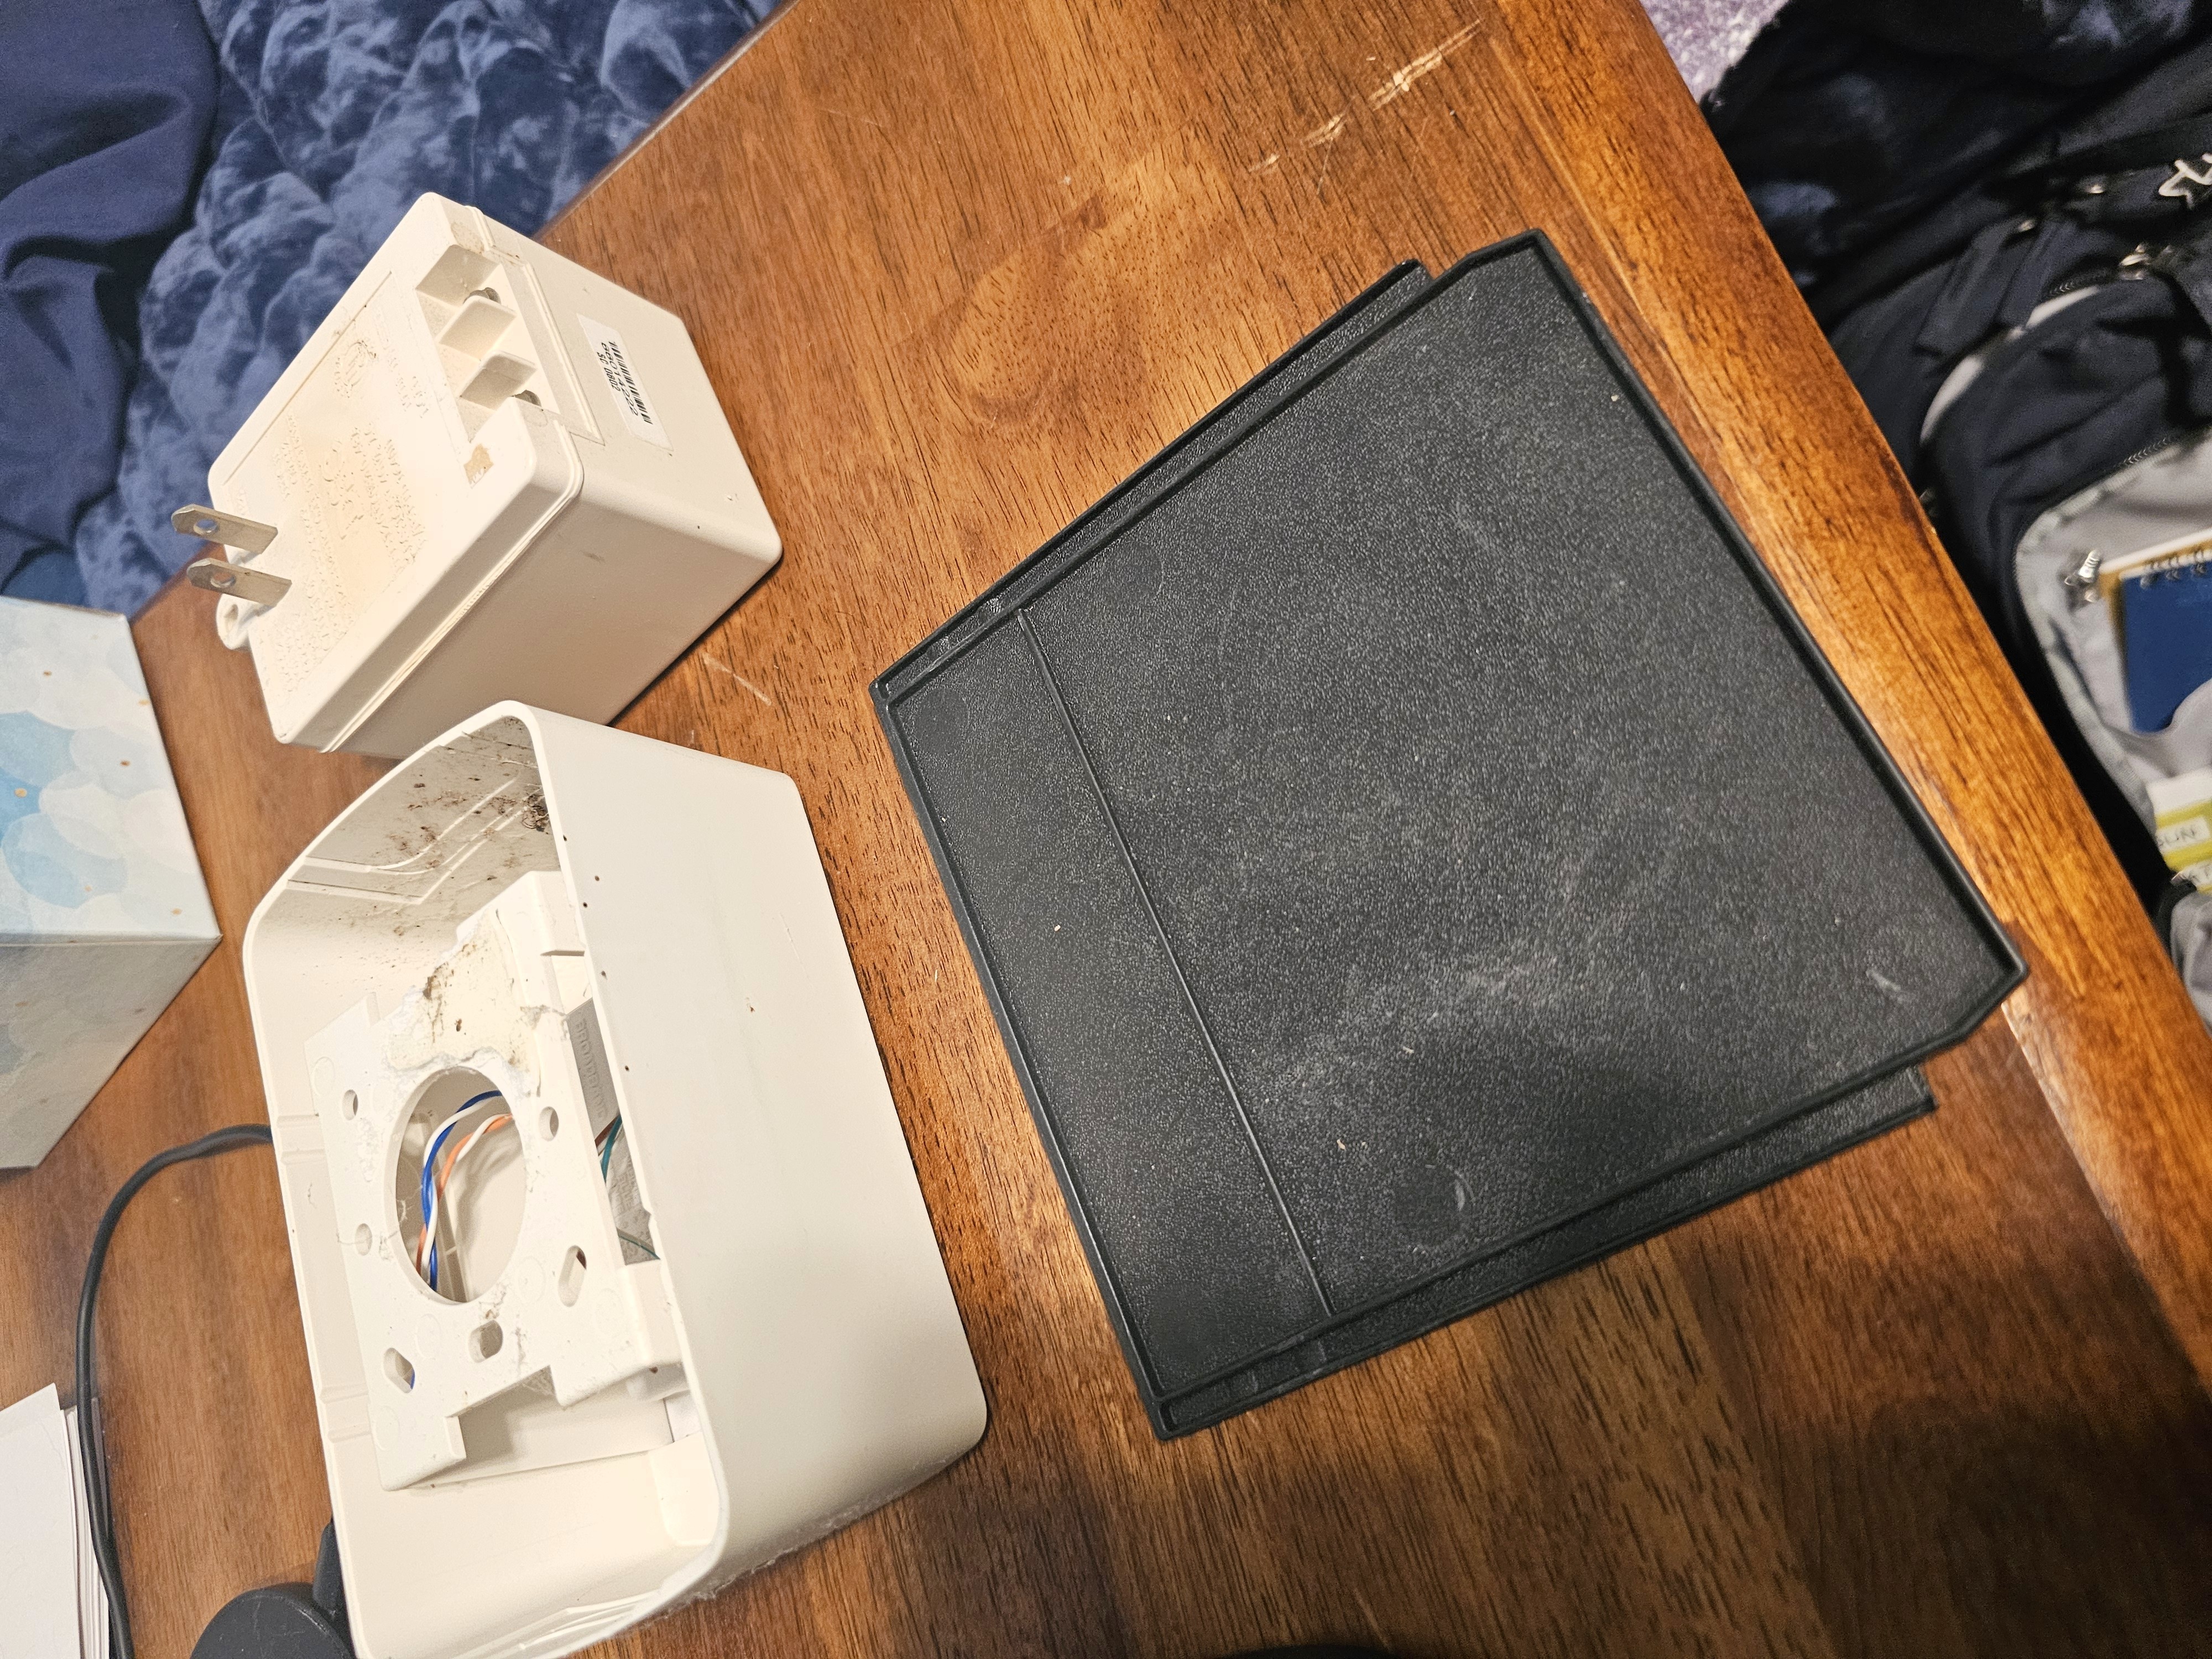
All of these look promising, each requiring more or less fabrication to make an enclosure. But we're still over-complicating things. What's the most common material avaialble on a modern farm? Half-inch PVC pipe. Do AAA batteries fit in 1/2" PVC pipe? As a matter of fact, they do, almost perfectly.
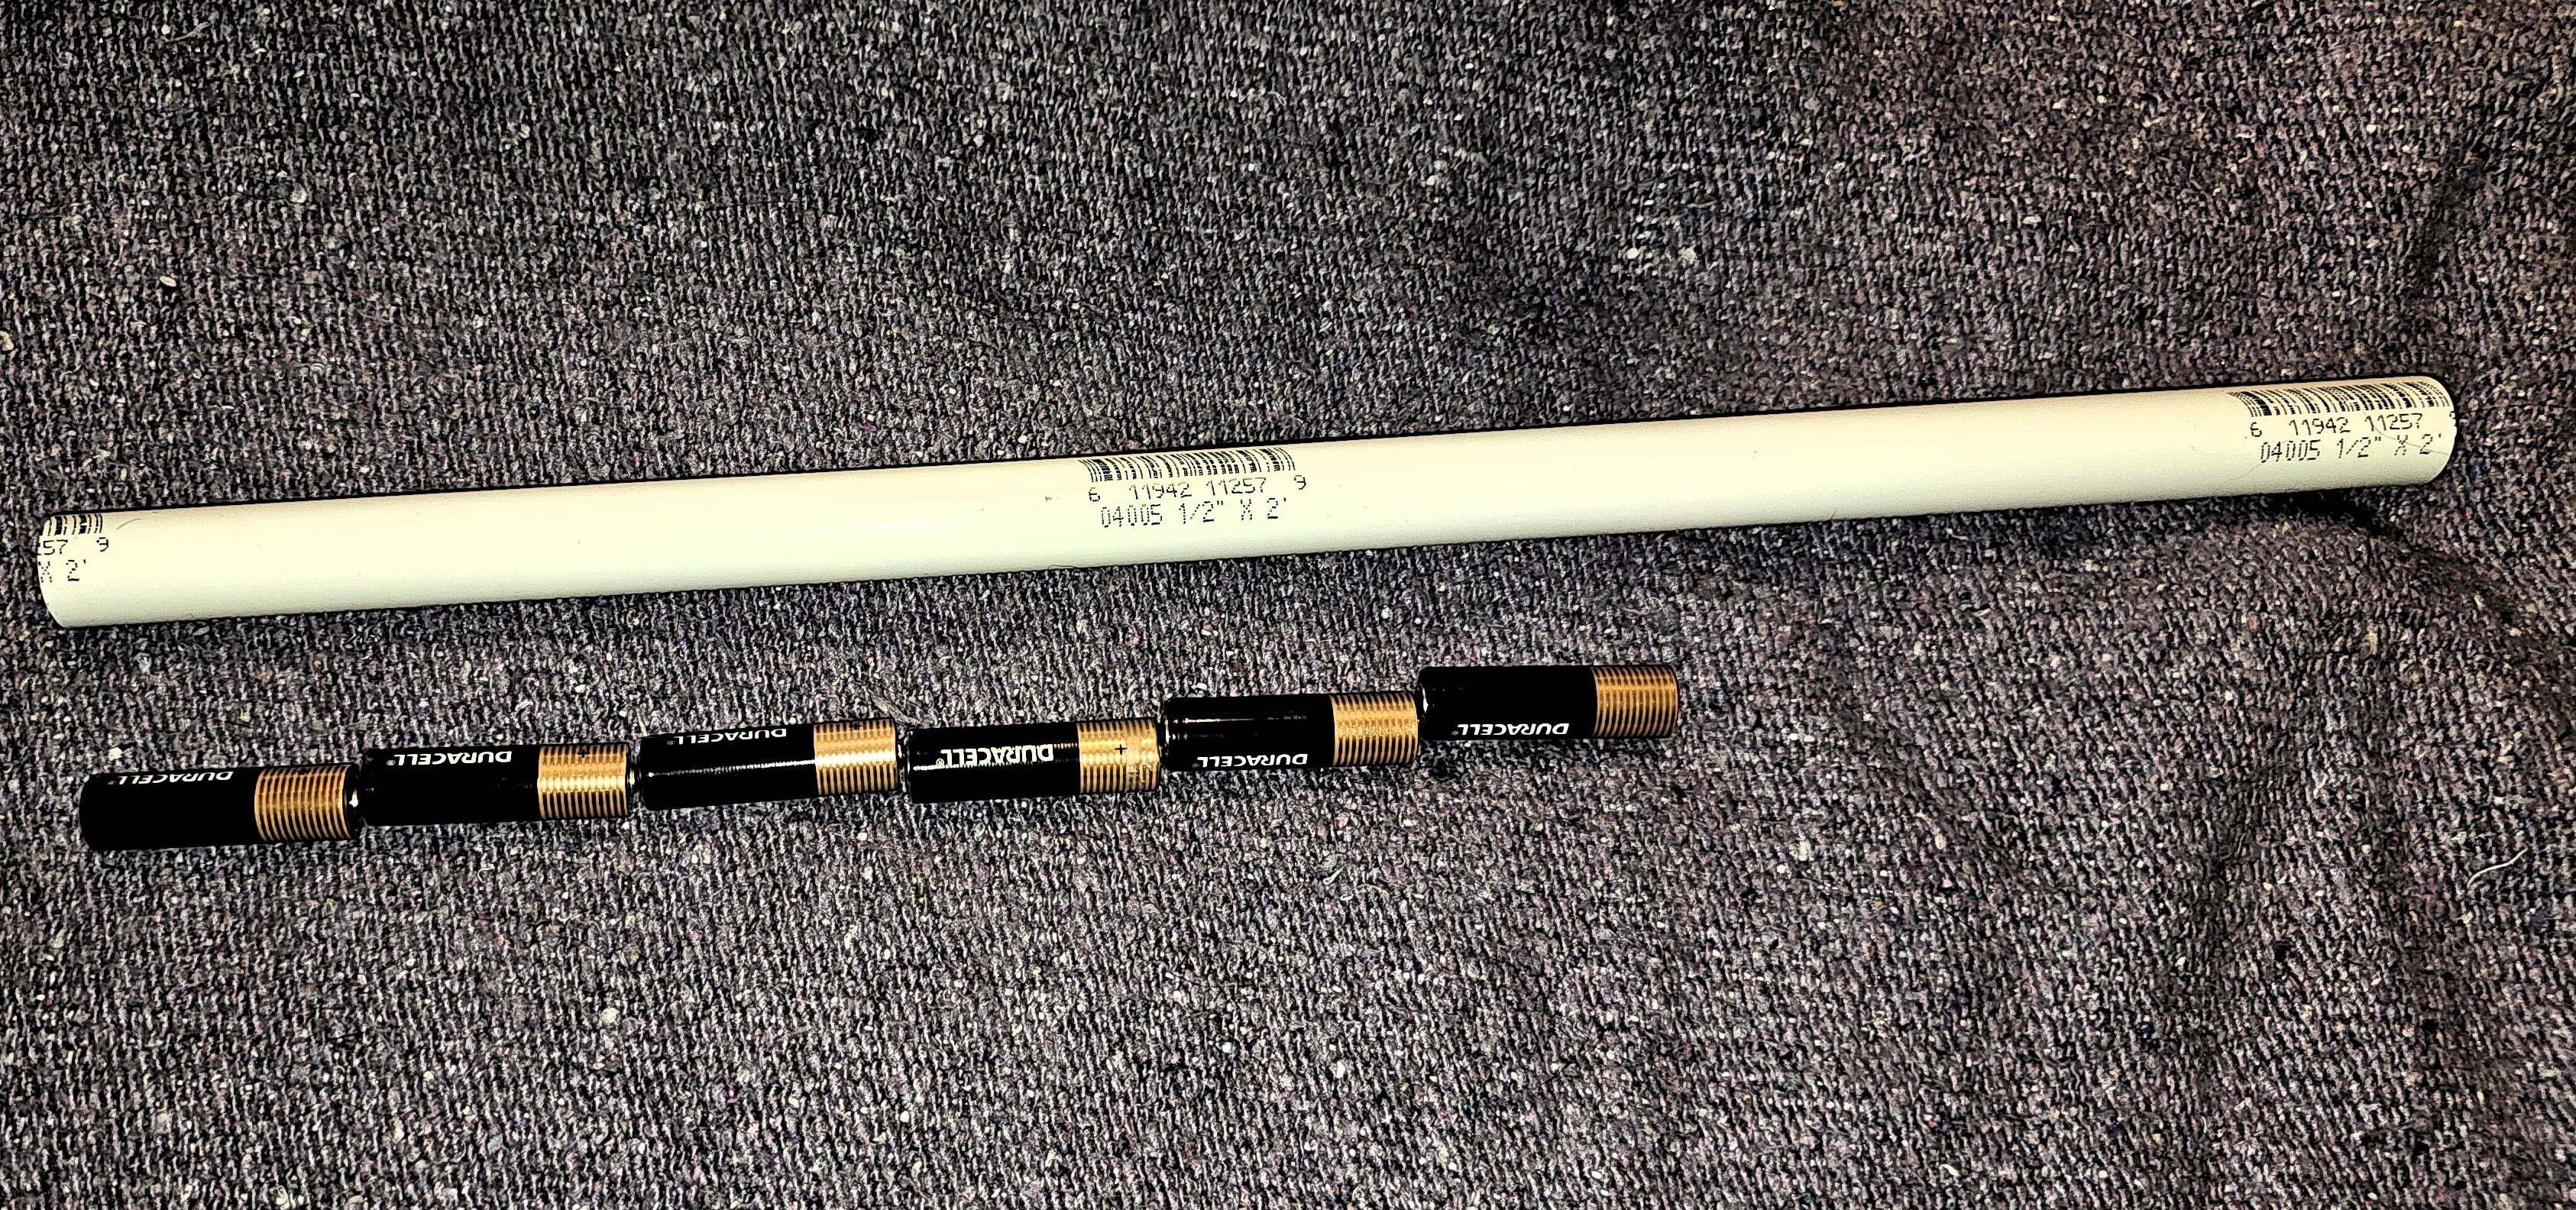
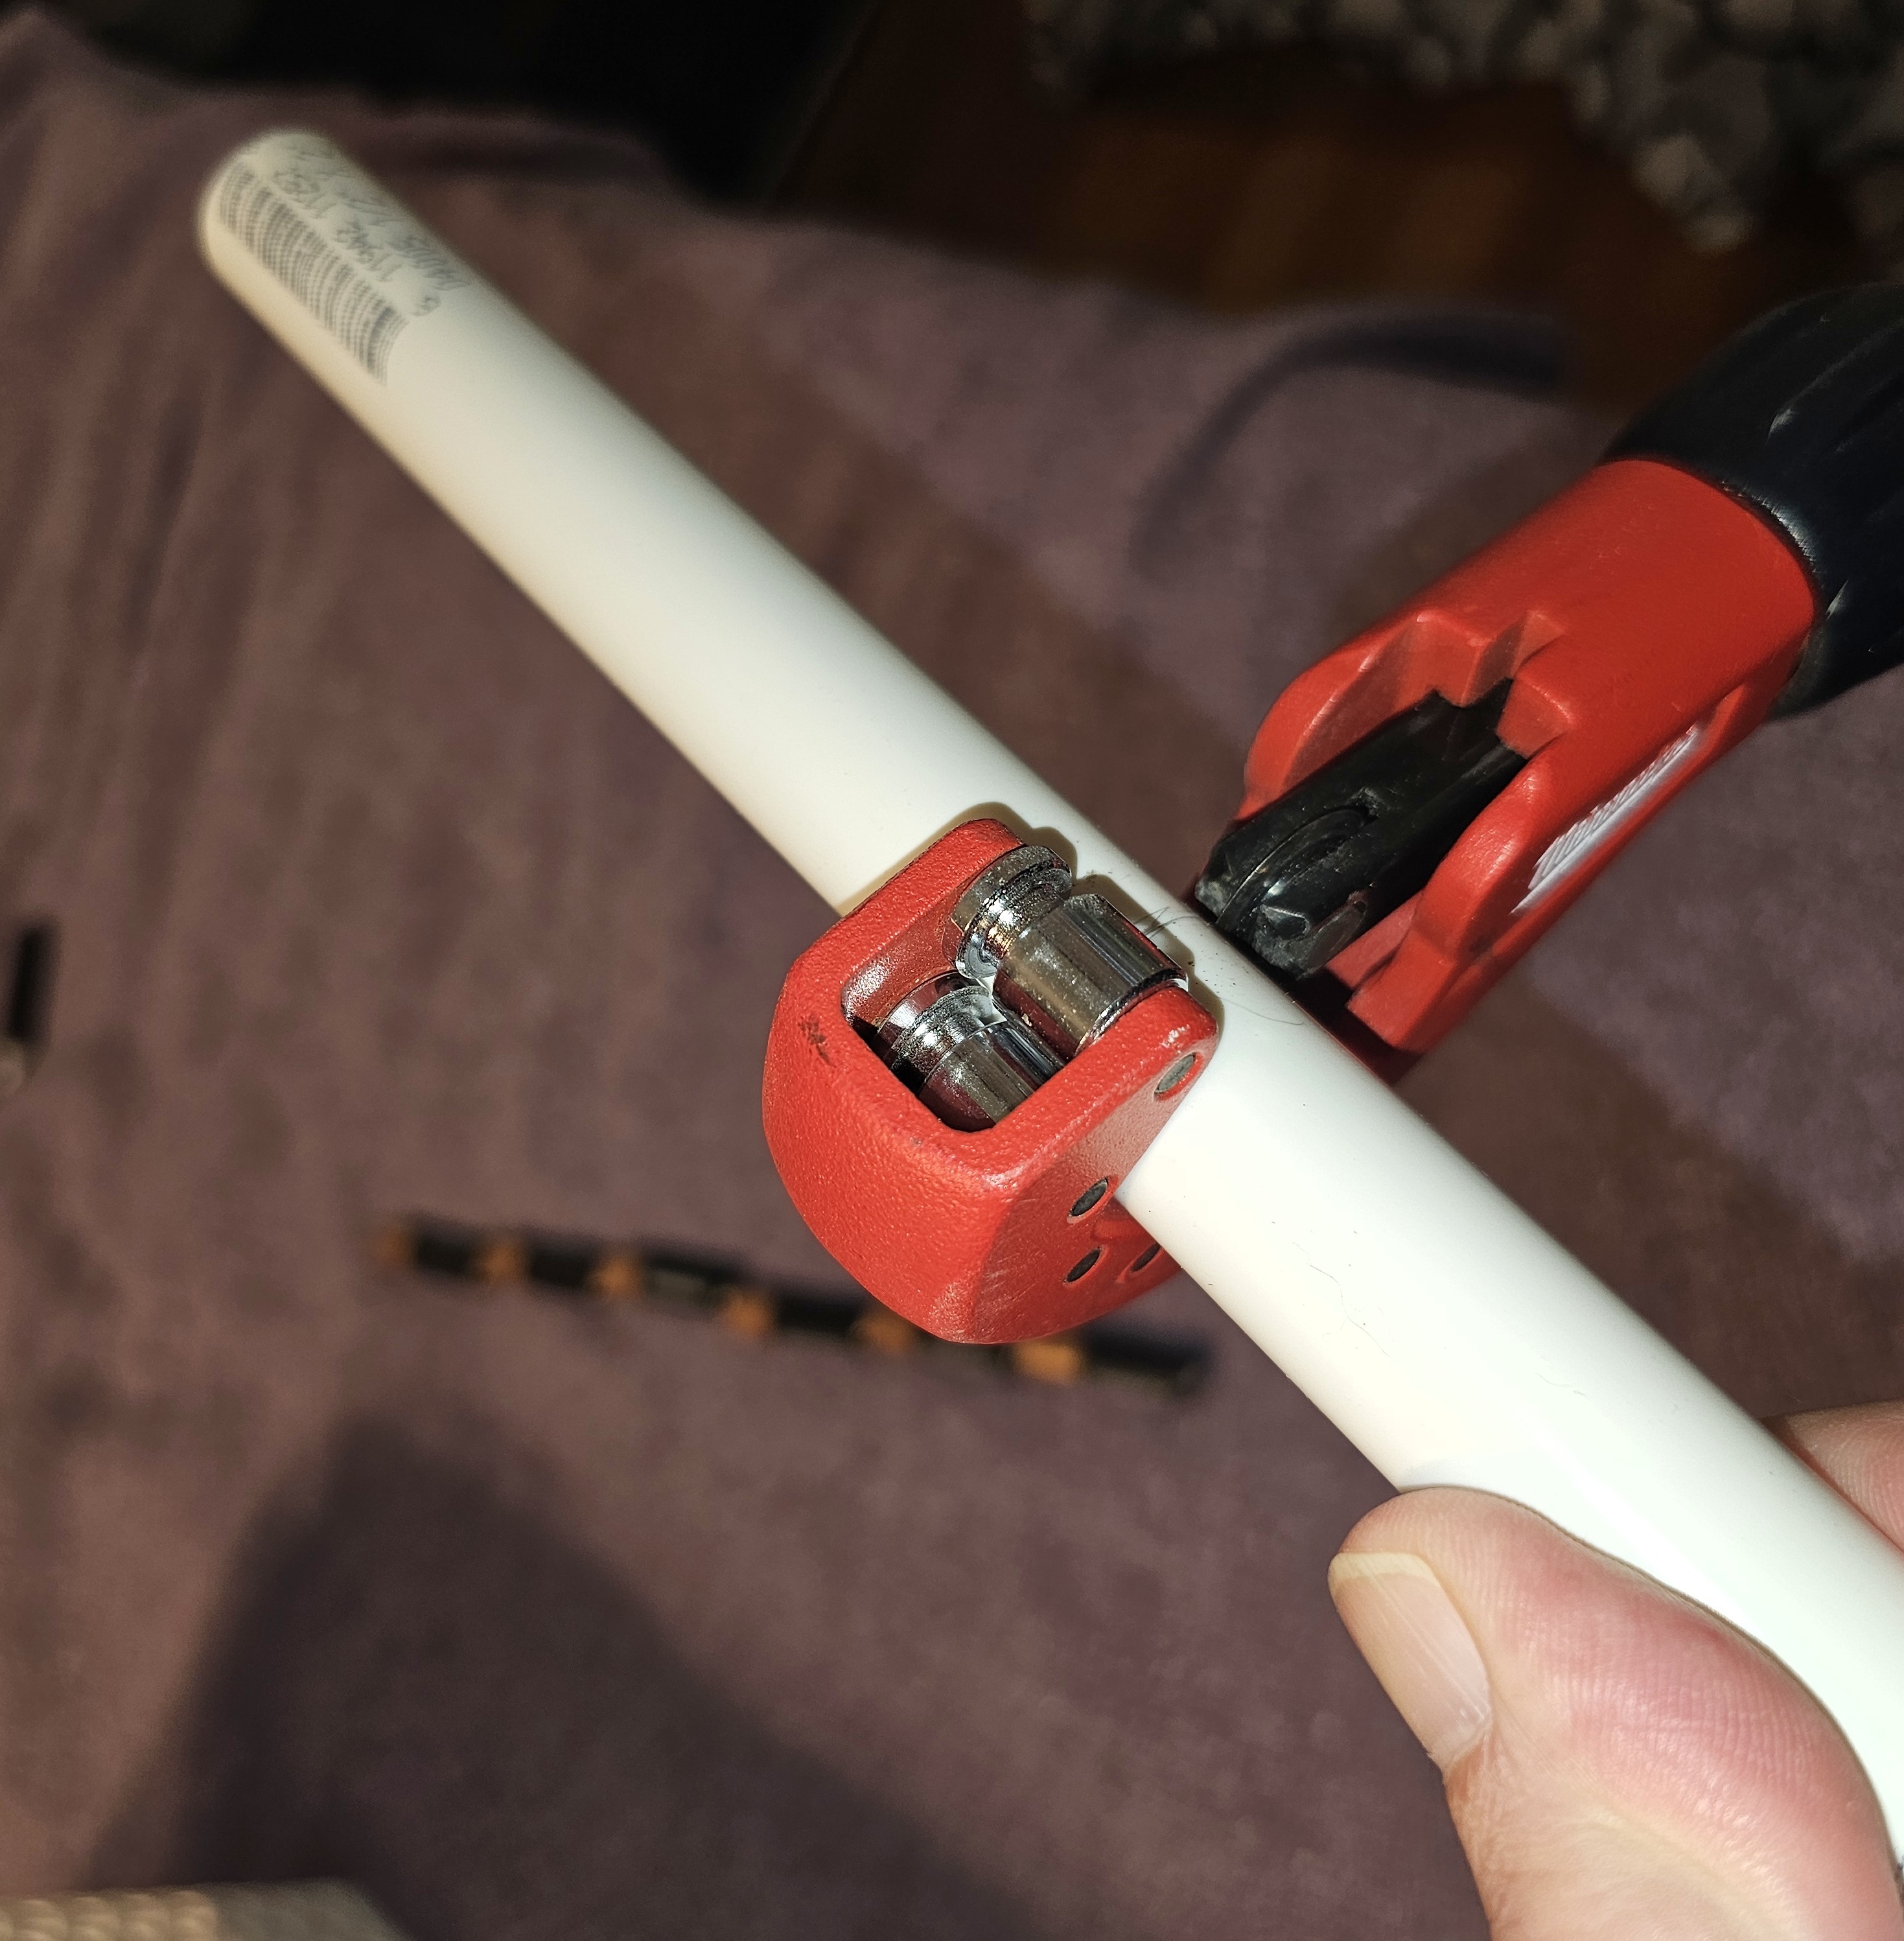
Let's stick with the "simplicity" theme, and just grab a pipe cutter. Hand tools are usually much more convenient on the farm, where there isn't necessarily electricity everywhere.
I made sure the batteries fit so that they're tightly stacked, and sticking out a little on the ends, so I can use tape to keep them pressed together. Clip one end off a couple of jumper cables, strip some wire, a little tape job, and voila! We have a working prototype of a replaceable-battery power supply.
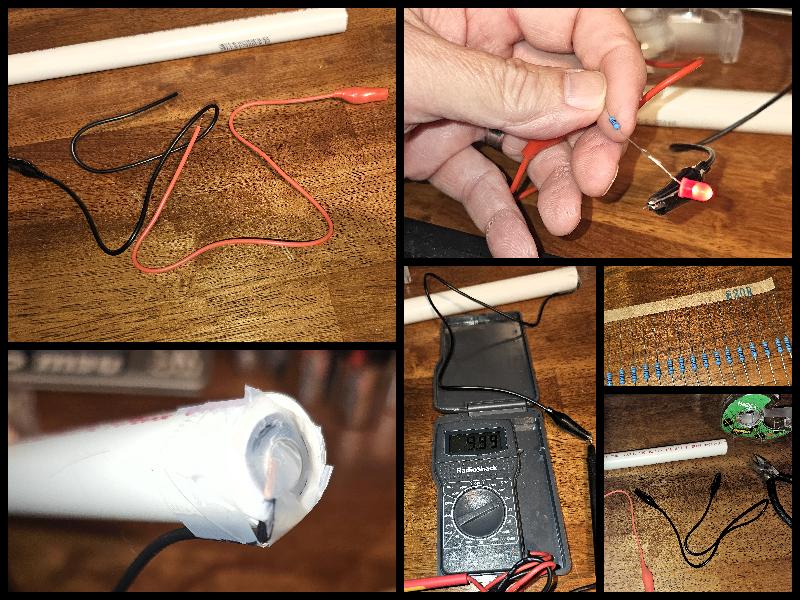
A couple of small build notes are in order. First, I used an 820-ohm resistor in series with the red LED, since I've significantly upped the voltage. The "R" on the paper binder represents a decimal point, so this is "820.0" ohms. Second, note that these six batteries should be supplying 9VDC, but they're actually giving almost 10 (9.99VDC). That's consistent with the voltage response I've observed from Brand A batteries.
Also, note that I'm not going to leave the funky tape with two stranded wires. I'm going to tin the wires (that is, twist the strands together and coat them with solder), and then tape those on with something stronger like electrical tape.
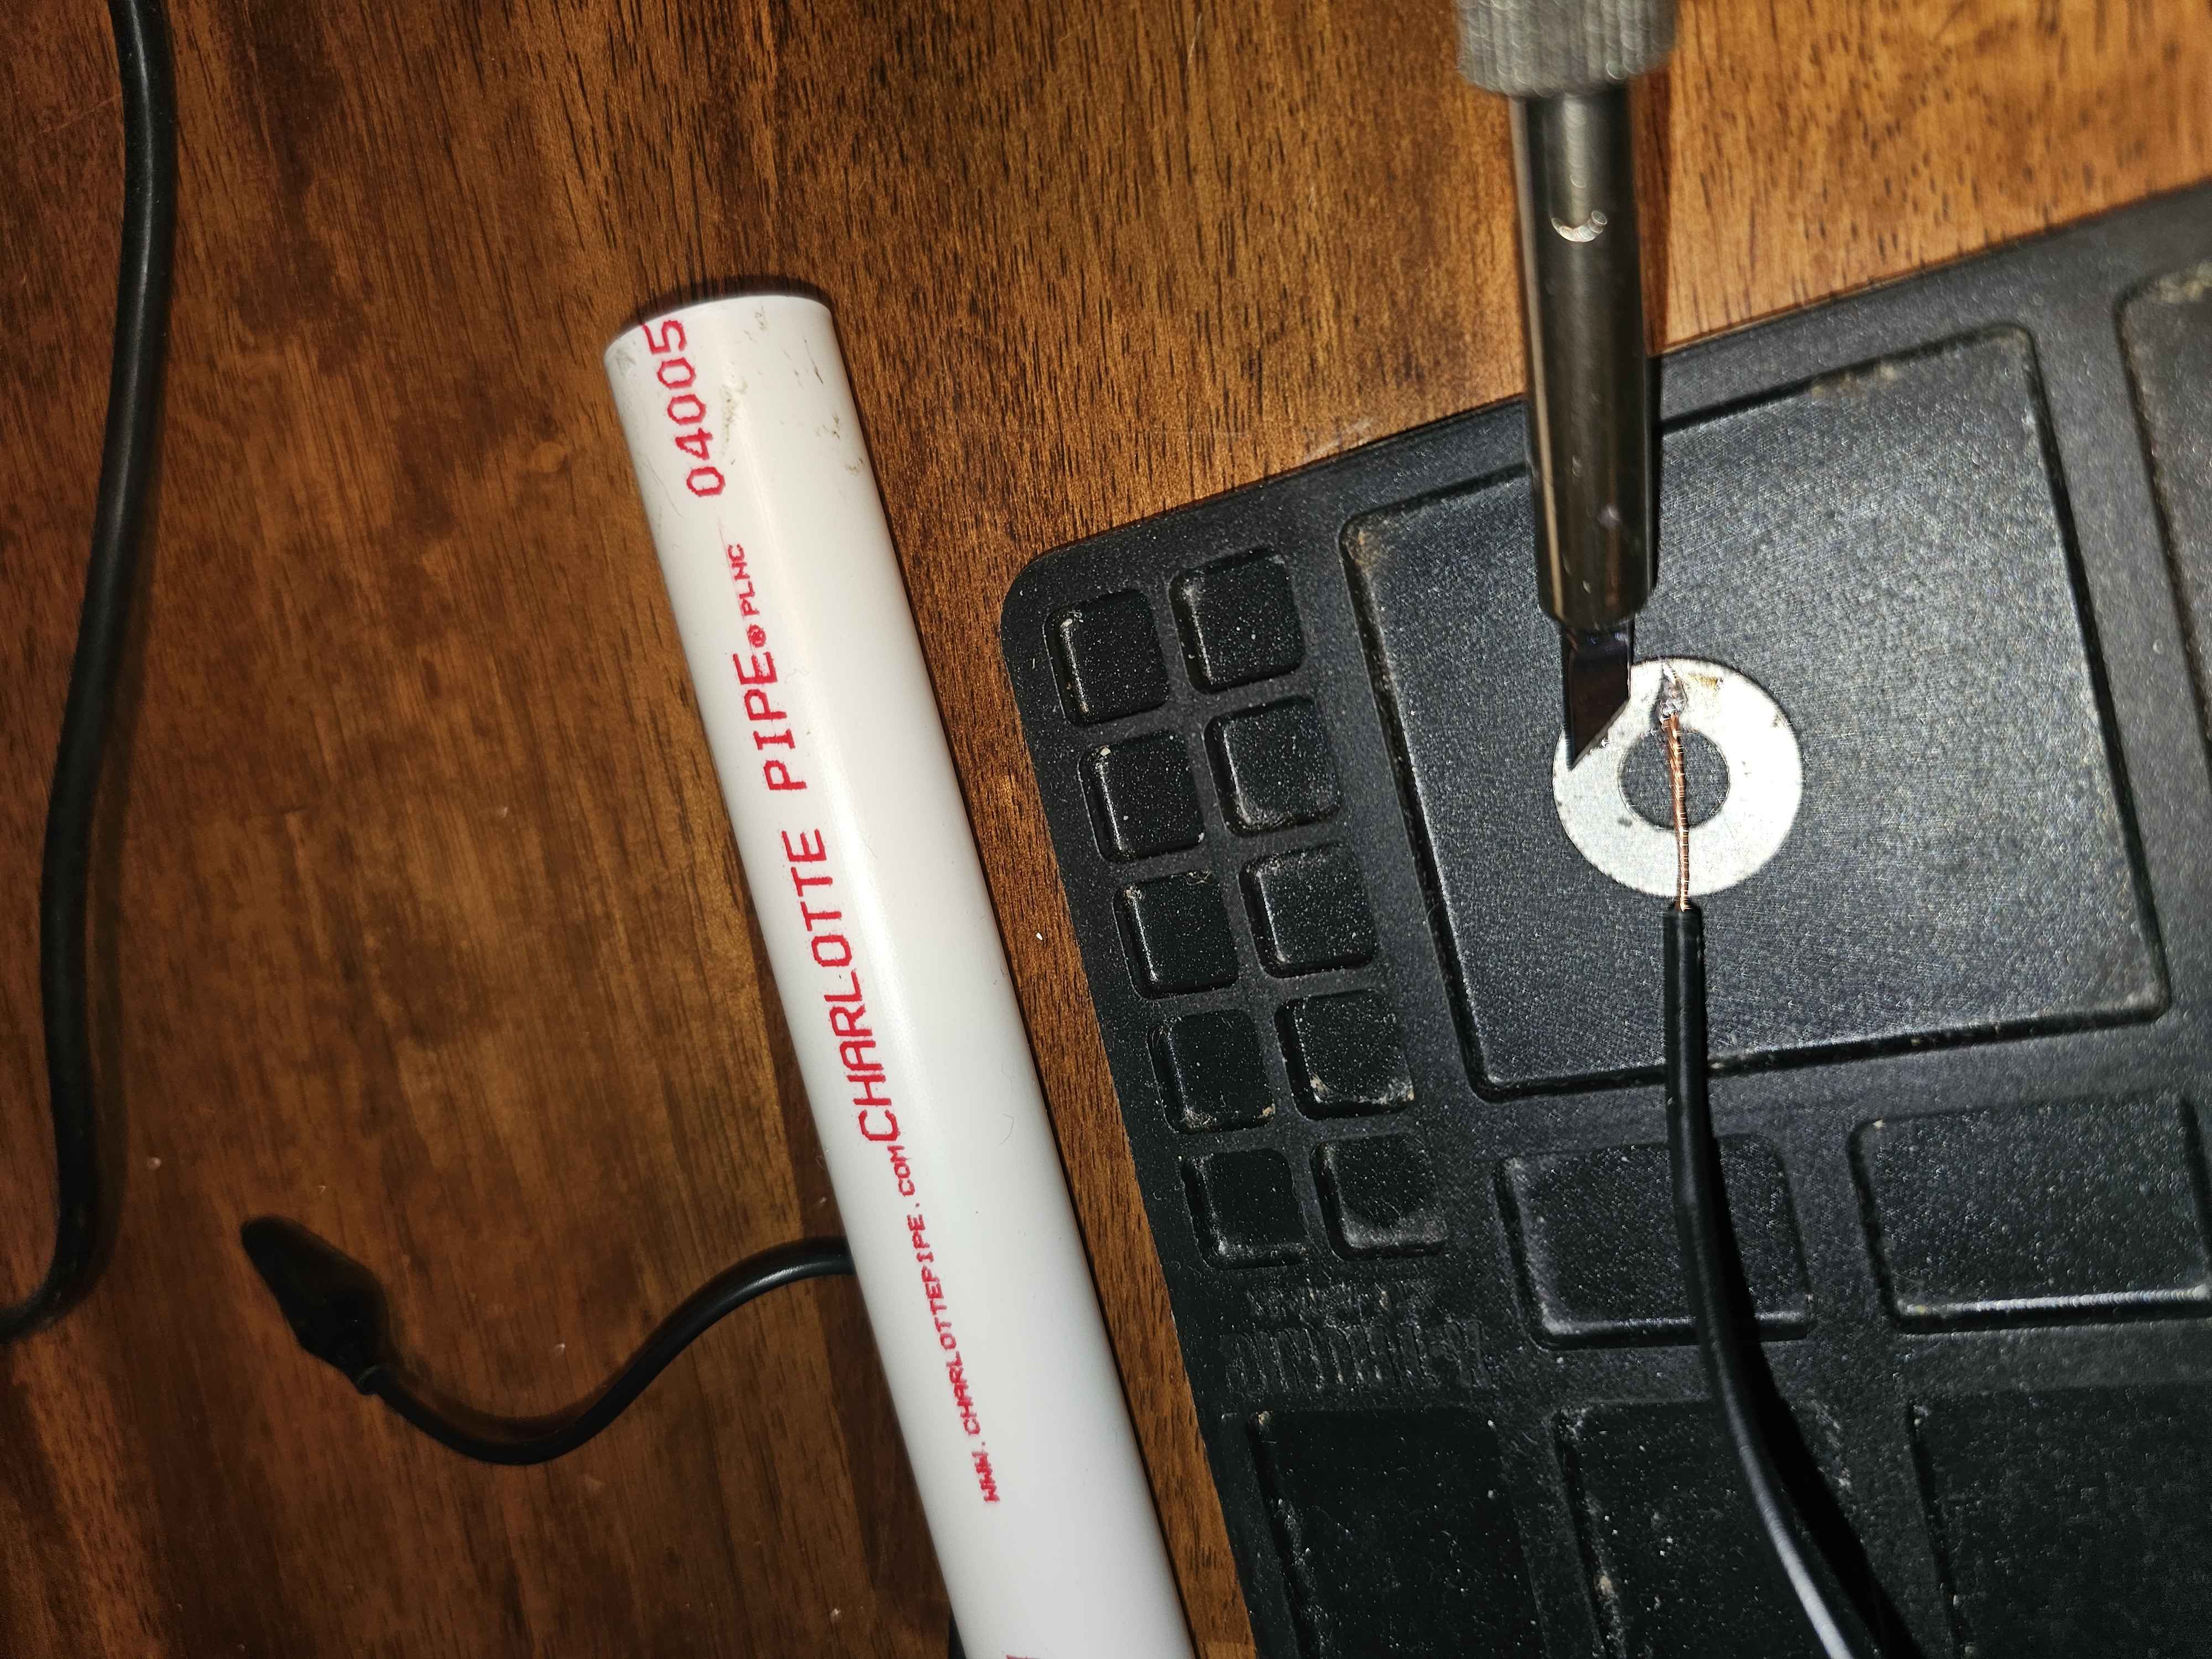
Never carry the solder to the lead on the iron. Let the iron heat the lead and let the lead melt the solder. One easy way to do this is to get a heat-resistant surface (this silicone soldering pad) and a solder-resistant metal washer (most of the thicker ones don't take solder well). The washer transfers the heat to the wire, and the wire melts the solder -- but the wire isn't joined to the washer.
Tinning makes the wire stiff, essentially turning it into a terminal. This won't spread, bend, or slide off the terminal when it's taped on there. And once we tape these down on the battery ends, along with a wrap for strain relief, we have a very simple and reliable, 9V, Replaceable Battery Power Supply (RBPS).